Friday, May 1, 2015

Peach Pecan Squares with Cinnamon Whipped Cream


Happy May Day! Of the many varied traditions attributed to this day, my all-time favorite is the one where you (anonymously) leave a basket or bouquet of flowers at the doorstep of a friend. However, f you are not someone with sentimental, traditional tendencies, but rather an independent spirit who seeks to celebrate holidays non-traditionally maybe you should consider (anonymously) leaving a basket of baked goods. Homemade of course. And what better way to let someone know just how 'peachy keen' you think they might be than a basket filled with these Peach Pecan Squares. Because if you have never made them before they might not guess they were from you! By the time you get around to reading this blog posting, May Day might have come and gone, but not to worry. Maybe this is the year to ditch serving Derby Pie on Kentucky Derby weekend or forego making an angel food cake for Mother's Day. Maybe it's time to start a new dessert tradition. The Peach Pecan Squares with Cinnamon Whipped Cream is a worthy contender.


While it is technically not yet peach season, these Peach Pecan Squares can be made with the peaches and/or nectarines currently available in the grocery stores. Or (brace yourself) it also be made with frozen peaches. As much as I like cooking with seasonal ingredients, there are times when I have a taste for something 'not in season'. My peach cravings don't always adhere to seasonal availability. And sometimes there are exceptions to the rule 'fresh is best'.


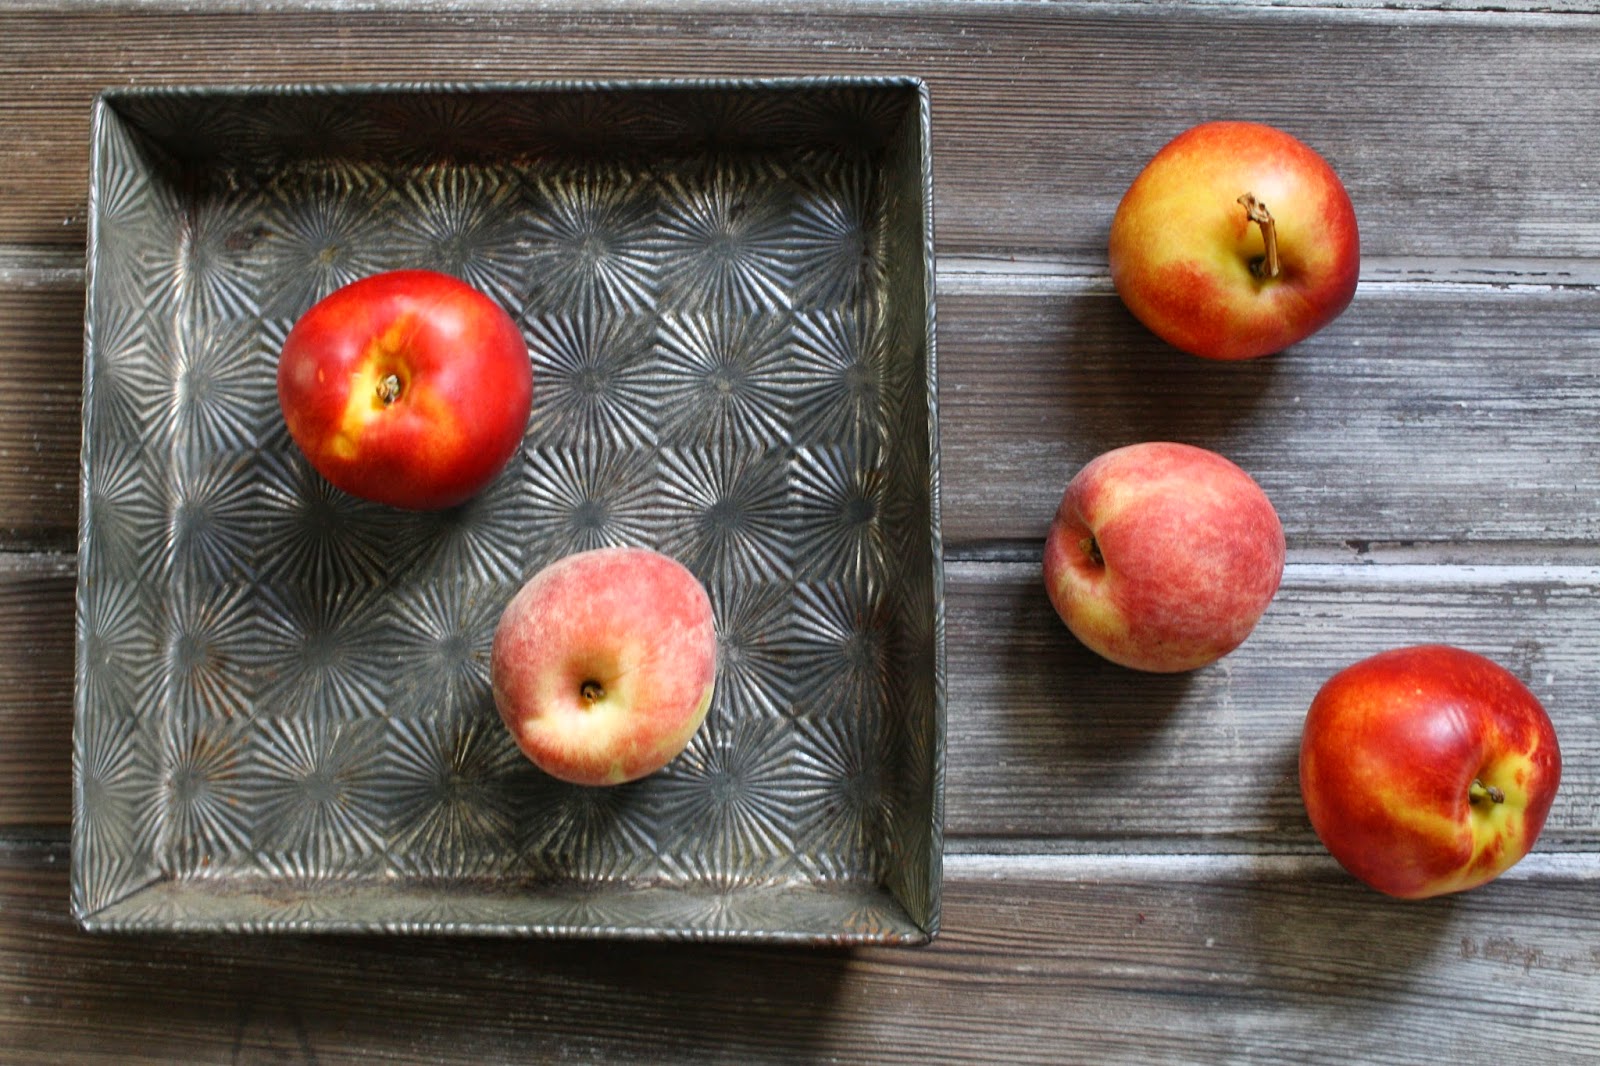
The recipe calls for three cups of sliced peaches. I 'cheated' and used frozen peaches. And it just so happens that a pound of frozen peaches equals three cups. So if you are using either fresh peaches or fresh nectarines, you probably want to buy at least one and a half pounds.


Rather than making a traditional pie crust for these squares, I thought a slightly sweeter, shortbread like crust would work better (Spoiler alert: It did). This one made with unsalted butter, flour, confectionary sugar and sea salt and baked until lightly golden. The recipe for the crust gave me just enough dough to cover the bottom of a 9"x9" pan, however, I really wanted it to come up the sides of the pan. The proportions of the ingredients for the crust listed in the recipe here should make me (and you) happy.


The custard for the squares is made by whisking together three egg yolks, a cup of granulated sugar, 2/3 cup of sour cream and two Tablespoons of all-purpose flour. The sour cream gives the custard a slightly tangy flavor, one that pairs perfectly with the sweetness of the peaches.


After arranging the sliced peaches on the partially baked crust, pour on the custard. In a 350 degree (F) preheated oven the squares are baked until the custard is set. The recipe I used indicated this baking time would be approximately 30 minutes. Whether this was because I took a recipe for a pie and made it into squares or because I used frozen instead of fresh peaches, my baking time was 45 minutes. Note: Check at 30 minutes if using fresh peaches.


After the custard is set, the squares are removed from the oven, topped with a pecan crumb topping and baked for additional 20-25 minutes (or until the top of the squares are golden brown).

As much as you might want to dig into these squares after they come out of the oven, it needs to cool for at least 45 minutes before it's cut.


I loved these Peach Pecan Squares served both slightly warm and room temperature. You can also serve them chilled.


In keeping with a bit of a non-traditional theme, serve with freshly whipped cream flavored with a pinch of cinnamon instead of vanilla ice cream. Pure yummy deliciousness.

You really don't need a holiday or occasion of make these Peach Pecan Squares. When you serve them, the day will turn into one. Heck you don't even need to wait until peach season. And unless you are prone to giving away all of your baking secrets, no one needs to know you may have used frozen peaches.

Recipe
Peach Pecan Squares with Cinnamon Whipped Cream (reciped inspired by the Peach Pecan Pie recipe in Nancie McDermott's 'Southern Pies' cookbook)

Ingredients
Crust
1 1/2 cups all-purpose flour
3/4 cup unsalted butter (12 Tablespoons), chilled but not cold
3/8 teaspoon sea salt
1/4 cup plus 2 Tablespoons confectionary sugar

Filling/Topping
3 cups peeled, sliced peaches or nectarines (fresh or frozen). Notes: A one pound bag of frozen peaches equates to 3 cups. Approximately 6 medium sized peaches or 1 1/2 pounds equates to 3 cups).
1 cup granulated sugar
2/3 cup sour cream
3 large egg yolks
2 Tablespoons all-purpose flour

1/2 cup unsalted butter, chilled
1/2 cup granulated sugar
1/3 cup all purpose flour
1/2 teaspoon Saigon cinnamon
1/2 cup chopped pecans

Cinnamon Whipped Cream: One cup of heavy cream, one tablespoon confectionary sugar and a generous pinch of Saigon cinnamon whipped until light peaks form.
Optional: Confectionary sugar for dusting

Directions
1. Preheat oven to 350 degrees (F). Line a 9 inch baking pan with parchment paper.
2. Pecan Crumb Topping: Combine butter, sugar, flour and cinnamon in the bowl of a food processor. Pulse machine on and off until mixture forms small clumps (pea size). Stir in chopped pecans. Set aside.
3. Add flour, confectionary sugar, and sea salt to a food processor. Mix briefly. Add butter and process until mixture forms clumps (approximately 30-45 seconds). Transfer dough to prepared pan. Press evenly on bottom and up sides of pan.
4. Bake crust for approximately 15 minutes or until just golden. Remove from oven.
5. In a medium bowl, whisk the sugar, sour cream, egg yolks and flour until smooth and thick. Set aside.
6. Layer peaches on bottom of crust. Pour custard mixture evenly over the peaches. Bake until custard is set, approximately 45 minutes. Note: Check at 30 minutes if using fresh peaches.  
7. Top squares with pecan crumb topping and return to oven. Continue to bake for 20-25 minutes or until top of pie is golden brown. Remove from oven.
8. Allow squares to cool for at least 45 minutes. Serve slightly warm, room temperature or chilled.
9. Top each square with a generous dollop of cinnamon whipped cream. Dust lightly with confectionary sugar.


Daffodils in bloom.


Photos taken at Morton Arboretum in Lisle, Illinois.

Monday, April 27, 2015

Dream Bars


For those of you who have been following the blog lately, you would have been wise to begin investing in stock for the company responsible for making Motrin as its' sales have most likely spiked considerably in the last two months. Okay, maybe expecting anyone to infer that my return to running (particularly at my age) would lead to unprecedented sales increases and potential shortages of over the counter anti-inflammatory medication is a bit of a stretch. Almost as much of a stretch as it was for me to start running all over again. I was 'old' when I started the first time, a latent adult athlete. In addition to soothing my sore muscles these days, I am having even greater difficulty trying to manage the conflict my inner youthful spirit is having with my much older body. While I don't run nearly as fast as I did twenty years ago (and it really wasn't even fast back then but it's faster than I am currently running), there is a Pollyanna voice in my head telling me I can and will get faster as well as be able to run longer distances (hearing voices is an anti-inflammatory medication side effect, right?). However, I suppose anything is possible as long as there will always be Motrin, as long as I keep pushing myself, as long as there will be chocolate milk, and as soon as I can stop whining every time I have to run up a hill or do interval training. Rewarding myself with something new from Lululemon or indulging in 'great but not necessarily good for you' carbohydrates every now and the kinds of tangible incentives that appeal to my youthful spirit, one equally important to nurture.


After finishing my first 5k in a very, very, very long time this past weekend, I found it easy to walk past the post-race tables filled with bagels, cookies, and bananas. All I wanted was chocolate milk, some gummies, and the Dream Bars I had made over the weekend. Two of the three were available at the race and enough to sustain me until I could have the third one. It didn't matter how long we spent at the post race hoopla or how long it took us to get home, some things are worth the wait. The Dream Bars would be one of those things.


I have been in awe of Mindy Segal's culinary talents ever since first tasting her desserts when she was the pastry chef at MK, a restaurant in Chicago. The only complaint I ever had about the dessert menu was that it was one of those 'too hard to choose'. Her desserts reaffirmed my belief great meals need to, have to, and absolutely must end with a great dessert. Without one would be akin to giving someone your most favorite of all books and tearing out the last chapter. From MK she opened Hot Chocolate, a restaurant I am embarrassed to say I have not yet been (yikes). For all of her current and soon to be fans, one does not have to leave the house to enjoy a Mindy Segal pastry or dessert. Her first cookbook, 'Cookie Love', makes it possible for the home cook to create the cookies and confections shared and developed by a James Beard outstanding pastry chef award winner. Unlike many of the cookbooks written by highly acclaimed chefs, she proves high quality, accessible ingredients can create extraordinary, insanely delicious, even decadent bites of sweetness. Her recipes are the ones destined to create happy endings to a great meal, to any meal.


Dream Bars have three layers of flavor: shortbread, chocolate and brown sugar meringue. The combination of these flavors in a single bite create a dream-like confection unlike any you may have had before. Seriously.


The shortbread layer is made with unsalted butter, granulated sugar, extra-large egg yolks, vanilla, a little water, all purpose flour, baking soda, baking powder and kosher salt. Once assembled the shortbread is pressed into a 9"x13" parchment paper lined pan and refrigerated until set (at least 30 minutes). Note: Before chilling, a a sheet of or shards of chocolate are pressed into it.


After melting and spreading five ounces (instead of the four listed in her recipe) of semi-sweet (at least 62% cocoa) on the bottom of a 9"x13" baking pan lined with parchment paper, it is placed in the freezer for approximately 30 minutes or until hardened. The recipe calls for breaking the chocolate into shards and pressing into the shortbread layer. Being someone who generally follows recipe directions the first time I make something, I did just that. However, the next time I will simply lift the 'frozen' chocolate off of the parchment paper and lay on top of the shortbread layer.


Adding dark brown sugar to extra-large egg whites creates a meringue I can only describe as sinful. And not since Ina Garten has there been anyone out there advocating for the use of extra-large egg whites in pastry recipes.


In a 350 degree (F) preheated oven, the Dream Bars are baked for 23-25 minutes (my baking time was 25 minutes). The most difficult part of this recipe was waiting for the bars to cool to room temperature and chilling in the refrigerator before cutting into bars and eating.


After removing the chilled bars from the refrigerator, cut into 3 inch by 1 inch bars. The Dream Bars should be served at room temperature, however, I also liked how they tasted slightly chilled. The one warning I have about them is that they are, as Mindy Segal shares, addictive. Maybe it's because of their sweet-salty taste or maybe it's because of their varying crunchy textures. Regardless of the reasons, these Dream Bars are pastry perfection. One of the many reasons why I need to keep running. Maybe someday I will be able reconcile that conflict between my spirit and my body. Or maybe I should worry less about my pace and be happy I rediscovered something else keeping my spirit young. And in the words of Aldous Huxley "The secret of genius is to carry the spirit of the child into old age, which means never losing your enthusiasm."

Recipe
Dream Bars (an ever so slight adaptation of Mindy Segal's Dream Bars recipe as shared in her first cookbook Cookie Love)

Ingredients
5 ounces semisweet or bittersweet chocolate (62% to  66% cocoa), melted
1 cup unsalted butter, room temperature
1/2 cup granulated sugar
1 Tablespoon water
1 teaspoon vanilla
2 extra-large eggs, room temperature and separated
2 cups all-purpose flour
1 teaspoon baking powder
1 teaspoon baking soda
1 teaspoon kosher salt
1 cup firmly packed dark brown sugar

Directions
1. Invert a 9"x13" baking sheet, spray with cooking spray, and place a piece of parchment paper on top.
2. Melt 5 ounces of semisweet or bittersweet chocolate in the microwave or over simmering water. Using an offset spatula, spread melted chocolate evenly on parchment paper. Place pan in the freezer until chocolate is firm, approximately 30 minutes.
3. Sift together the flour, baking soda, baking powder, and kosher salt. Set aside.
4. In a stand mixer fitted with a paddle attachment, mix butter for 5-10 seconds. Add granulated sugar and beat until the mixture is fluffy, approximately 3-4 minutes. Scrape the sides and bottom of bowl to bring batter together before continuing.
5. Add water and vanilla to the egg yolks. On medium speed add the yolks, one at a time, mixing briefly until batter resembles cottage cheese (approximately 5 seconds per yolk). Scrape the sides and bottom of bowl to bring batter together and mix on medium speed for 20-30 seconds until mixture is nearly homogeneous.
6. Add flour mixture all at once and mix on low speed until dough just comes together but still looks a little shaggy (approximately 30 seconds). Do not over mix.
7. Remove from bowl and bring the dough together by hand.
8. In another 9"x13" parchment paper lined baking pan, transfer the dough, pressing down with a rubber spatula, then with your fingertips. Press dough into the corners of the pan and smooth the surface.
9. Remove chocolate from the freezer. Place on top of dough, pressing down lightly. Cover with plastic wrap and refrigerate until dough is set (approximately 20 minutes). Note: Can break chocolate into shards and scatter evenly over the dough.
10. Preheat oven to 350 degrees (F).
11. In a stand mixer fitted with a whisk attachment, whip egg whites and pinch of kosher salt on medium speed until frothy, approximately 45 seconds. Add dark brown sugar and whip on medium-high speed until shiny peaks form and the meringue holds its shape, approximately 2-3 minutes. Spread meringue over chilled dough.
12. Bake for 23-25 minutes, rotating the pan halfway through the baking process. The bars are done when the meringue resembles a lightly toasted marshmallow. Sides will begin to crack, but will still be slightly soft in the center. Do not overbake or shortbread crust will be too crumbly to cut>
13. Allow the bars to cool completely in pan. Once cool, refrigerate until chilled.
14. Lifting bars out of the pan, transfer to a cutting board. Using a sharp knife, cut bars lengthwise into 3 or 4 strips. Cut the bars crosswise into 9 or 10 strips. 
15. Serve bars at room temperature or slightly chilled.
Note: The bars can be refrigerated in an airtight container for up to 5 days.

Monday, April 20, 2015

Swedish Pancakes


Watching the Aurora Borealis (aka Northern Lights) segment on my favorite Sunday morning television show this past weekend reminded me how energizing and emotionally overwhelming it can be to take in and capture nature's beauty. Like it was yesterday, I can still recall how the up-close experience of seeing and feeling the majesticness of mountains on my very first trip to Rocky Mountain National Park literally caused me to weep. The beauty of the sky, mountains, and surrounding landscape combined with the energy emanating from the mountains was more than just one of life's memorable moments, it changed something for and in me. This first trip to Colorado turned into an annual trek. Not only to capture as much of the landscape as possible with my camera (am trying to find an inner Ansel Adams) but to find some solace as well as escape from the stressful chaos of my life. As perplexing and worrisome my solo trips were to some of my friends (sometimes with good cause), I almost always experienced a sense of calm and fearlessness when in the midst of nature's beauty. Retrospectively though, I wished a little more common sense and caution was operating before I made the knuckle-clenching drive from Leadville to Aspen on a sudden, dramatic shift in the weather day. One causing snowy, icy, and treacherous driving conditions on Independence Pass. For a little more than an hour I failed to appreciate the splendiferousness of the mountains while trying to hold back the tears.


Getting energized through the consumption of carbohydrates isn't exactly the same kind of energy one experiences from a hike in or a drive through the mountains. Because when one lives in the flat lands of the midwest the only kinds of mountains in existence are the imaginary ones created by squinting one's eyes on days when the sky is filled with those large, billowy Cumulus clouds (yes, I have a very active imagination). Needing to energize my body after a pre 5K race run with my running group on Saturday, I was craving a plate of pancakes. Not my favorite buttermilk pancakes, but Swedish pancakes sprinkled with confectionary sugar and served with some butter and lingonberry jam. My cravings can sometimes very specific.


Traditionally considered a dessert, Swedish pancakes (Pannkakor) have been around since the middle ages. The Swedish tradition of serving the pancakes with pea soup for dinner on Thursdays traces back to a time long ago when Sweden was largely Catholic due to Danish influence. Considered a hearty meal, it was intended to stave off any of the anticipated Friday fasting hunger. While the Thursday pea soup and Swedish pancakes meal custom remains a part of the culture, today the large, thin, crepe-like pancake has evolved into a breakfast or lunch main dish. One you can savor on any day or should your little heart desire, every day of the week.

When I was very young my maternal grandmother once told me there was some Swedish heritage in my genealogy. However, this did not manifest itself in the celebration of any Swedish customs or the handing down of any Swedish family recipes (not even the Swedish meatballs we ate growing up). Other than having one of my best friend's 'super secret can't ever share or risk life and limb' recipe for Glogg, I have not been fortunate enough to be the recipient of any other traditional, family Swedish recipes. As in most cultures, there are multiple versions of recipes for the same foods. Without the benefit of a family recipe for Swedish pancakes, I had no choice but to try to find the 'best' one out there. Or at least one that tasted as close to the Swedish pancakes I had recently had in the north woods of Wisconsin. It can be sometimes hard to 'trust' a recipe one finds in a cookbook, food magazine, or on the internet, but when I rediscovered the Swedish Pancake recipe shared in Cook's Country magazine I had faith this could be the 'one' worthy enough to be described as one of the 'best'. However, there were two ingredients listed in the recipe I thought would cause anyone growing up 'Swedish' to immediately gasp and declare it as being devoid of any authenticity. Club soda or instant flour (Wondra) were probably not in existence in the middle ages.


But had they been, maybe Swedish Pancakes would have become embraced as a main course (breakfast, lunch or dinner) centuries earlier. However, I can't imagine the early version of the recipe could have been as buttery, silky or as addictively delicious as the Cook's Country version.


The batter for these Swedish pancakes does not need to rest several hours or even overnight. Instead any craving you have for them can be almost instantly gratified (and for some things I skew more to the instant versus delayed gratification end of the spectrum).


Whether you are using either a 9 or 10 inch cast iron or non-stick skillet, the pan needs to be hot and butter needs to be added to the pan each time you make a pancake. Swirling a generous third of a cup of batter into the hot, buttered pan helps to create a perfectly round, even in thickness pancake. The cooking time for each pancake is approximately 1-2 minutes (one minute per side).


The cooked pancakes can be stacked on one another and kept warm in a preheated 200 degree oven. This is critical as it will take at least 20 minutes to make all of these pancakes. To prevent the pancakes from sticking together, lightly dust with confectionary sugar. When serving the Swedish pancakes, I like folding before plating them, however, many roll them 'crepe-style'. Note: Any leftover pancakes can be covered, stored in the refrigerator, and reheated in the microwave.

The fearlessness I experienced when making the Swedish Pancake recipe from the Cook's Country magazine was rewarded well beyond my (high) expectations. They were as good as, if not better than, the ones I recently had. Think I may have just found the perfect long run reward food, although, I wouldn't want to limit the making of these Swedish pancakes to an activity, event or even to a day. Now that I have the perfect recipes for Glogg and Swedish pancakes, I need to start looking for that 'perfect' Swedish meatball recipe so I begin to channel some of that Swedish heritage I supposedly have.

Recipe
Swedish Pancakes (slight adaptation of Cook's Country Swedish Pancakes recipe, October 2010)

Ingredients
2 cups instant flour (recommend Wondra)
1/4 cup granulated sugar
1 teaspoon kosher salt
1 1/2 cups half and half
1 1/2 cups club soda, room temperature
2 large eggs, plus 2 egg yolks, lightly beaten, room temperature
4 Tablespoons unsalted butter, melted and slightly cooled
Additional butter for cooking 
Confectionary sugar for dusting
Ligonberries for serving

Directions
1. Preheat oven to 200 degrees (F). Line a baking sheet with parchment paper and set aside.
2. Combine flour, sugar and salt in a large bowl.
3. Combine the half and half, club soda, lightly beaten eggs and four tablespoons of melted butter until just blended. 
4. Slowly whisk the liquid ingredients into the dry ingredients until the flour mixture is smooth.
5. Pour or brush two teaspoons of melted butter onto the hot skillet (be careful to not let butter brown or burn), and immediately pour a generous 1/3 cup of batter into the skillet, tilting pan to evenly coat bottom of pan. Cook until lightly golden, approximately 1-2 minutes per side.
6. Transfer cooked pancakes to baking sheet and place in preheated oven or transfer to a plate and cover tightly with aluminum foil. Note: Lightly sprinkle confectionary sugar over each pancake before stacking.
7. Serve folded or rolled along with sides of room temperature butter and lingonberry jam.

Friday, April 17, 2015

Everything Chicken Puffs


I have a certain amount of skepticism any time I see one of those retro, nostalgic recipes posted on social media. Having succumbed to the belief that nothing can compare to that 'made from scratch' taste, I am often hesitant to make recipes calling for the use of 'pre-made' ingredients. This probably has something to do with having had way too many tuna fish casseroles made with a can of cream of mushroom soup and topped with crushed potato chips in my youth than anything else. Eating too much of anything can sometimes leave lasting, sometimes illogical impressions on one's palate. But after reading through Christina Tosi's new cookbook, Milk Bar Life: Recipes and Stories, I was inspired to revisit what had been my admittedly limiting view of food. Although I still don't think I could ever eat another one of those tuna fish casseroles from my youth again.


Amongst the many of her 'low-brow' not alot of fuss recipes in the book catching my attention was the Chicken Puffs. Most anything made with bread almost always draws me in. When you add cream cheese and chicken, well, all I will say is that you would have to drag me away from trying it.


I took some liberties with her recipe. Including roasted garlic powder into the filling mixture and finishing it with a mixture of spices instead of seasoned bread crumbs. After one bite of a warm Everything Chicken Puff, I wondered where they had been all my life. In looking through hundreds of those community cookbooks over the years, how was it that I had missed this 'vintage' recipe? I don't know how to play bunco, but these Everything Chicken Puffs make me want to learn how and host one. They make me want to have a Mad Men binge watching party. They make me want to have gathering for reason other than to serve them.

One of the best things Sam's Club and Costco offer are their rotisserie chickens. While they cost less than five dollars I don't know if anyone has ever been able to leave buying only a chicken. If I am lucky I can get out of there spending less than a hundred dollars. But in spite of all of the distractions one must deal with as you walk to the back of the store to pick up a chicken, they are really the most meaty and flavorful of all of the rotisserie chickens.


What is not to love about green onions? But feel free to use minced onions or shallots instead.


Ever since having an everything bagel (with cream cheese and lox) a few weeks ago, I was reminded how much flavor sesame seeds, sea salt, poppy seeds and onion flakes can impart on anything bread-like. Christina Tosi's recipe calls for rolling the puffs in seasoned bread crumbs, however, the use of 'everything' spices works even better.


The filling is chopped chicken, softened cream cheese, kosher salt, pepper and some roasted garlic powder. I used the meat from both a chicken breast and chicken leg/thigh. If I wasn't using a rotisserie chicken, I might consider grilling or baking some chicken thighs as I love the flavor of dark meat more than white meat. But honestly, buying a pre-baked chicken is what makes this dish quick and easy to assemble.


Depending on which size crescent rolls used, you will have appetizer or meal sized puffs. In the recipe below, there is enough filling for two tubes of crescent rolls. After dividing the filling evenly on each of the crescent triangles, simply roll them up, pinching the sides to ensure the filling doesn't spill out during baking.

Each of the rolled puffs is dipped into the 'everything' spice mixture and placed on a parchment paper lined baking sheet. Note: The puffs can be assembled several hours ahead and refrigerated until ready to bake.


The puffs were baked in a pre-heated 350 degree (F) oven. My baking time (using the grand size crescents) was somewhere between 18-20 minutes. Begin checking on them at the 15 minute mark.

These Everything Chicken Puffs are best when served 'just out of the oven'. They are insanely delicious. You really do have to make them. If you too have been suffering from the preconceived notions that semi-homemade food isn't really good food, let alone great food, these puff might change them. They did for me.
Recipe
Everything Chicken Puffs (inspired by Christina Tosi's recipe in Milk Bar Life: Recipes and Stories)

Ingredients
12 ounces cooked chicken, chopped (light and dark meats)
8 ounces cream cheese, room temperature
1/2 cup sliced green onions (white and green parts)
1/2 teaspoon black pepper
1 teaspoon kosher salt
1 teaspoon roasted garlic powder (or garlic powder)
2 tubes of refrigerated crescent rolls (regular or giant size)

Topping
4 teaspoons onion flakes
2 teaspoons sea salt
4 teaspoons poppy seeds
4 teaspoons sesame seeds

Directions
1. Preheat oven to 350 degrees. Line baking sheets with parchment paper and set aside.
2. Mix chicken, cream cheese, salt, pepper and garlic powder in a medium sized bowl.
3. Unroll crescent rolls, divide into pre-cut triangles. Divide chicken mixture evenly amongst the 16 pieces of dough. 
4. Wrap up dough around chicken, pinching sides to seal seams, and shape into crescents.
5. Dip or roll crescents into topping mixture. Place on baking sheets.
6. Bake 15-18 minutes or until golden brown.
7. Serve immediately.
Notes: Use a store-bought roasted chicken. Can be prepared early in the day and baked when ready to serve. Regular size crescent rolls will make appetizer size puffs, while the large/giant sized rolls will create meal portion puffs. If you don't want an 'everything' spice finish, use one cup of seasoned Italian bread crumbs.