Friday, May 10, 2019

Strawberry Crumble a la Mode


If the stars align and the predicted sunny weather forecast remains unchanged, I will be headed up to the north woods for a couple of days early next week. As often as I have traveled to Door County, Wisconsin, I have never been there when the cherry trees were blossoming. For years I have drooled over the mesmerizing photos taken by others. With a little luck, I am hoping I too can capture more than a few swoonworthy photos. In addition to taking a few hikes, my primary mission on this trip is to take an inordinate number of cherry trees, cherry orchards, and cherry blossoms photos. I might get distracted by horses, sheep, cows, barns, and maybe a lighthouse or two because that's what usually happens when I am up there. The landscapes and farmscapes in Door County never fail to disappoint. As much as I love having travel companions, this cherry blossom or bust trip will be a solo one. Mostly because waiting around for me to take a zillion photos isn't the least bit fun for anyone except me. And those sudden stops on the highway, well they can also be a bit disconcerting for those who would prefer to return home safely. It's not always easy being my friend on a road trip when I am channeling my inner amateur photographer persona.

Cherries may not be in season at the grocery stores here in the midwest yet, but strawberries are readily available. While they may not be the much anticipated locally grown June summer strawberries, the strawbeerries I have bought recently are satisfyingly sweet. Although when baked in this Strawberry Crumble they became sinfully sweeter. Fruit never tasted so good.


But is this a crumble or a crisp? Depending on who you ask, crumbles and crisps have come to be used somewhat interchangeably. Although technically the streusel topping on most crumbles normally didn't include oats. No matter what you call them, these rustic, streusel topped, baked desserts are one of the easiest ways to deepen the flavor of fresh fruit. With thickened fruit oozing from under a buttery streusel topping, crumbles are one of those hard to resist desserts. Maybe because we subconsciously or consciously tell ourselves desserts made with fruit fall on the healthy(ier) end of the dessert continuum. 


In order that there be discernible chunks of the strawberries, I cut mine in either halves or quarters. Smaller berries are can in half and larger ones are cut into quarters. 

Many crumble recipes call for the addition of a small amount of liquid in the fruit mixture. Water and lemon juice are the more common ones. But there is nothing common about this Strawberry Crumble. because it has a secret ingredient: Port. The addition of port brings a deeper flavor to the baked strawberries. I would be remiss if I didn't suggest you use a good Port. The kind you would enjoy sipping.


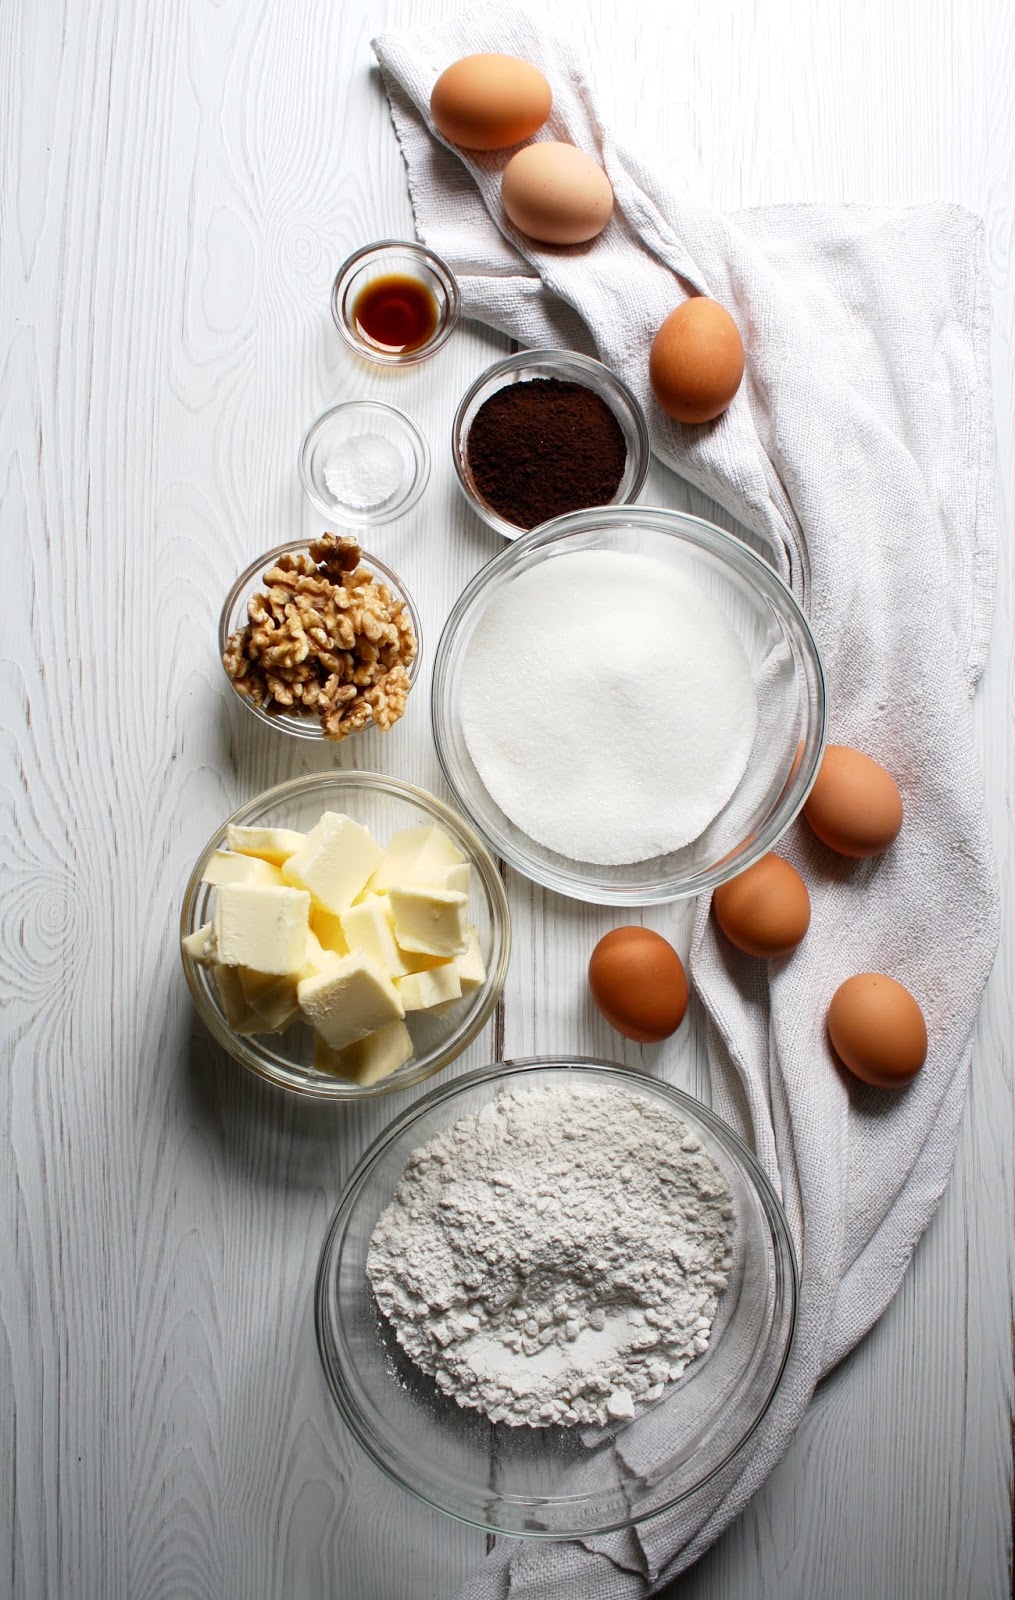
Streusel toppings are made with either room temperature butter cut into cubes or melted butter. This Strawberry Crumble uses the former. 


When baked in a preheated 350 degree (F) oven for 45-50 minutes, the fruit filling thickens and oozes from the sides of the pan and the streusel topping turns golden brown. Allowing the crumble to rest 10-15 minutes before serving helps with the structure of the fruit filling.


Whoever said crumbles wouldn't win any beauty contests is someone whose definition of beauty is much narrower than mine. In keeping with the old adage beauty is in the eye of the beholder, I find this Strawberry Crumble to be beauty contest worthy. In fact, I would go so far as to say it's so irresistibly, rustically beautiful it's worthy of being declared the winner. 


Topped with a scoop of vanilla ice cream, I mean because what's a crumble without ice cream, this Strawberry Crumble is beguiling. I dare you to resist taking a bite. I double dare you not to leave even the tiniest morsel in your dish. Note: Take your ice cream out of the refrigerator at least 15 minutes before serving so each scoop begins to melt slightly when placed on top a warm serving of the crumble. The melted ice cream tastes like a sinfully rich creme anglaise.

If there was ever a dessert to scream dessert of the summer, it would be this Strawberry Crumble a la Mode. And if there was ever a way to incorporate more fruit into your life, well you guessed right, it would be this Strawberry Crumble a la Mode. Mouthwatering delicious and requiring almost minimal skill or effort, it's definitely a crowd pleaser. While it may be best served warm (you can reheat individual servings in the microwave), I wouldn't refuse it if served room temperature. 

Recipe
Strawberry Crumble a la Mode
Serves 6 to 8, maybe one more

Ingredients
3/4 cup (65 g) old-fashioned oatmeal (not quick oats)
7/8 cup (116 g) all-purpose flour
3/4 cup (130 g) light brown sugar, firmly packed
1/2 teaspoon baking powder
1/2 teaspoon kosher salt
6 Tablespoons unsalted butter, room temperature, cut into cubes

2 pounds fresh strawberries, cut in quarters or halves depending on size
2 1/2 Tablespoons cornstarch 
1/2 cup (100 g) caster, superfine, or granulated sugar
2 Tablespoons of a good quality Port
1 teaspoon vanilla
1/4 teaspoon kosher salt

Vanilla Ice Cream for serving

Directions
Topping
1. In a medium sized bowl combine the oatmeal, flour, brown sugar, baking powder, kosher salt, and butter. Mix together until well combined. Once you stir everything together, use your hands to fully incorporate the butter into the dry ingredients. Set aside.

Crumble and Assembly
1. Preheat oven to 350 degrees (F).
2. In a large 10" or 11" round baking dish or 9" x 12" inch oval/square baking dish, add the cut strawberries.
3. In a small bowl, combine the sugar, salt, and cornstarch. Sprinkle over the strawberries. Stir to coat the strawberries.
4. Add in the vanilla and port, stirring just until blended in. Top with the crumble mixture. Sprinkle a tablespoon or two of additional oatmeal on top.
5. Bake in the center of the oven for 40-50 minutes or until the topping is golden brown and the strawberry mixture begins bubbling through the sides and middle of the crumble. Note: The strawberry mixture should have thick consistency.
6. Remove from oven and let rest for at least 10-15 minutes or up to 30 minutes before serving.
7. Spoon the Strawberry Crumble into serving dishes and top with a generous scoop of vanilla ice cream. Or if serving 6-8 people who like to share, place several scoops of the vanilla ice cream in the middle and hand out spoons.

Notes: (1) You can make the topping ahead of time. Cover and keep in the refrigerator if made several hours ahead of time. (2) Cut the recipe in half and bake in a smaller dish if serving 2-4. (3) Store any leftovers covered at room temperature for up to a day. Reheat individual servings in the microwave because it is so good warm. (4) I served the Strawberry Crumble with Ben and Jerry's Vanilla Ice Cream because it's my favorite.

Wednesday, May 8, 2019

Coffee Walnut Cake


"A good cook knows that it's not what is on the table that matters, it's what is in the chairs." I genuinely believe good food shared with good friends and/or family is the cure for just about anything, the source of a great endorphin rush, or both. After having a great (winning) run with friends and going to a fun (but not winning) Kentucky Derby party on Saturday, we had some friends over for dinner on Sunday. If I didn't put so much pre-dinner preparation pressure on myself, I would love to end every weekend or rather begin every week having friends sitting around my dining room table. Especially like the friends we had over this past weekend. Not just because they eat every morsel on their plates (guaranteed to make my heart sing) or not because they are so effusively complimentary (guaranteed to make my head spin), but more importantly because they are just so much fun to be with (guaranteed to make my soul happy). Sometimes you have people come into your life and then for one reason or another, they temporarily leave. But then your lives cross paths again and they return back in. The first time might be by chance, but the second time is by choice. Which for me, feels almost better than meeting them for the first time. Maybe the joyfulness you feel when reconnecting with a friend is what destiny feels like. But whatever it is, spending time and sharing a meal with friends creates some of the life's best memorable moments.


The first time I saw a photo of Thida Bevington's Coffee Walnut Cake, I knew it was a cake I had to make. Coffee or anything coffee flavored came into my life only recently. While my new found affinity for coffee started with iced coffee, I now love all things having the taste of coffee. Between the coffee infused cake and coffee infusing icing. this Coffee Walnut Cake is a coffee lover's dream.


When a cake has a light, tender crumb and a thick, creamy icing, I am instantly and permanently smitten. This Coffee Walnut Cake had me swooning in the first bite.

Served with a cup a tea or coffee if you dare, this Coffee Walnut Cake is one best made for and savored with friends. 


I made several changes to the cake and icing recipe for a variety of reasons. Some due to ingredient accessibility and some due to cake baking preferences.


Instead of instant coffee I used instant espresso reducing the amount from 24 g to 20 g. Four tablespoons and two teaspoons provided more than enough coffee flavor. Because salt always enhances the depth and complexity of flavor, I added 1/2 teaspoon of kosher salt to both the cake and icing recipes. And in my world, cakes and icing beg to made with some vanilla. The only ingredient causing me to stall on making this Coffee Walnut Cake was the use of double cream in the icing. I used heavy whipping cream as a substitute (and it worked), but the next time I think I will go on the hunt for some double cream. Like many European cake recipes this one was made with self-rising flour. A flour easily found at the grocery stores here. 


Baked in preheated 350 degree (F) oven, my two 8" cakes baked somewhere between 35-40 minutes. Alternately you can bake the cake in three 6" cake pans (baking time may need to be adjusted).


For the most level assembled cake, use a serrated knife to cut off the domes of each cake. Which you can snack on while making the icing.


The recipe for the icing will give you enough for the filling between layers, to make a crumb coat on the sides and top of the cake, and to pipe on top of the cake. Note: The sides of the cake will have the naked cake finish.


Whether you slather a thick layer of the icing on top or use a pastry bag to pipe a design of your choice, there are no rules or must-do's when it comes to finishing the cake. I decided to lightly dust with confectionary sugar and mound some chocolate covered espresso beans in the center this time, but next time, who knows what I will do the next time. And there will be a next time as this is one cake definitely going into cake rotation here.


Essentially a sponge cake, the addition of the chopped walnuts give the cake an unexpected texture. Coffee Walnut Cakes are somewhat popular on the other side of the pond. We need to start a Coffee Walnut Cake campaign here!

If you are looking to make a cake for Mother's Day, this one might be perfect for the coffee loving females in your life. If you wanted or needed a reason to invite friends over, this Coffee Walnut Cake is more than reason enough. In other words, this cake would be lovely whether you are having a casual gathering or celebratory event. 

Recipe
Coffee Walnut Cake (inspired by Thida Bevington's Coffee Walnut Cake recipe)
Makes 1 8" (two-layer cake) or 1 6" (three layer cake)

Ingredients
Cake
1 1/2 cups plus 1 Tablespoon (350 g) unsalted butter, room temperature
1 1/2 cups (350 g) caster or superfine sugar
4 tablespoons and 2 teaspoons (20 g) instant espresso or instant coffee
1 Tablespoon boiling water
7 large eggs, room temperature
1 teaspoon vanilla
1/2 teaspoon kosher salt
2 1/2 cups and 1 Tablespoon (350 g) self-rising flour
Generous 1/2 cup (80 g) finely chopped walnuts

Icing
1 3/4 cups (400 g) unsalted butter, room temperature
1 pound (475 g) confectionary sugar
1/2 teaspoon kosher salt
4 tablespoons and 2 teaspoons (20 g) instant espresso or instant coffee
1 Tablespoon boiling water
1 teaspoon vanilla
1/2 cup double cream (or heavy whipping cream)

Optional: Confectionary sugar for dusting, chocolate covered espresso beans and/or walnut halves

Directions
Cake
1. Preheat the oven to 350 degrees (F). Prepare two 8" (or three 6") cake tins for baking (lightly butter and line with parchment paper) and set aside.
2. In the bowl of a standing mixer fitted with a paddle attachment, beat the sugar and butter until light and fluffy.
3. Add in the eggs one at a time, beating until each is incorporated.
4. Mix together the instant espresso and boiling water. Stir to blend. Note: The mixture will be very thick. 
5. Add the espresso and vanilla to the batter and mix to blend.
6. Add in the self-rising flour and chopped walnuts. Mix to blend. Note: Scrape the bottom and sides of the bowl to ensure you have a smooth, even batter.
7. Evenly divide the batter between the cake pans. Bake for 30-35 minutes or until the a tester comes out clean when inserted in the center of the cake. Note: Rotate cakes midway during the baking process and begin checking for doneness at 30 minutes.
8. Place baked cakes on a cooling rack. Allow cakes to remain in pan for about 5 minutes, then invent onto a cooling rack to allow them to cool completely before icing the cake.
Icing and Assembly
1. In the bowl of a standing mixer fitted with a paddle attachment, beat the butter for about 2 minutes.
2. Add in the confectionary sugar and salt. Beat until mixture is light and fluffy.
3. Mix together the instant espresso and boiling water. Stir to blend. Add in the whipping cream (or double cream) and stir to blend. 
4. Add the coffee mixture and vanilla to the batter. Beat until icing is light and fluffy.
5. Cut the domes off each of the cakes so you have two flat, even surfaces.
6. Place one cake layer (cut side up) on a cake platter. Spread icing evenly over the bottom layer.
7. Invert the second cake (cut side down) on the bottom iced layer.
8. Spread a thin coat of icing on the top and sides of cake. To set the icing, place in the refrigerator for 15-30 minutes.
9. Either spread or pipe the remaining icing on top of the cake.
10. Serve immediately and savor. Note: If not serving immediately, place the cake in the refrigerator. Bring the cake out about 30-45 minutes before serving.

Notes: (1) The inspiration recipe called for 120 g (or 1 cup) of double cream in the icing. I used 1/2 cup of whipping cream. If using double cream, recommend using 120 g. (2) Be careful not to over bake your cake so it doesn't dry out.


Monday, April 29, 2019

Asparagus Brie Bundles with Honey Thyme Butter Drizzle


We experienced the fourth winter this past weekend. The first one came in the fall prior to the start of meteorological winter. The third and fourth winters came during the spring. At this point, I wonder if it's worth packing up all of my winter clothes. Or, if we will ever turn the heat off.


The ten hour snowfall paled in comparison to how my weekend actually began. Foolish mistakes and carelessly reading through a recipe caused an epic cake disaster. In spite of being able to salvage some of the cake, semi-permanent scars were left on my baking ego. While I am neither foolproof, nor perfect (so much for being a Virgo), those mistakes were unnerving. It's one thing to learn something new from a mistake. It's another when you know better. Needless to say, it's going to be awhile before I consider attempting that failed cake again. Instead I will be focusing my energies on appetizer making and cooking baking. Because we all need grazing foods and sweet little bites in our lives.


If you are looking for a new appetizer to serve at one of your casual gatherings or as a first course for a dinner party, this is the one you didn't know you needed in your life. Asparagus Brie Bundles with Honey Thyme Butter Drizzle are wickedly delicious and a feast for the eyes. Buttery puff pastry, creamy brie, and roasted asparagus bundled together make for a seriously tantalizing bite. 


But when drizzled with Honey Thyme Butter, these bundles are downright sinful. 


The return of asparagus to the market is almost as exciting as the return of rhubarb. The long, thinner spears found in the early part of asparagus season are the tastiest and most coveted. For these Asparagus Brie Bundles with Honey Thyme Butter Drizzle, you want to use the longer, thin versus shorter, thick asparagus spears.

To assemble the bundles, you will cut each of your puff pastry sheets into four squares. When slicing your brie cheese, I would suggest you cut thick versus thin slices so softens rather than melts during the baking process. An egg wash helps to both seal the bundle as well as give it's golden finish. Baked in a preheated 375 degree (F) oven, the Asparagus Brie Bundles are ready somewhere between 22 and 26 minutes.


Let me just dwell on this Honey Thyme Butter for a moment. If there was ever a drizzle to create dazzle, it would be this one. You absolutely cannot even think about making the Asparagus Brie Bundles without finishing them with the savory, sweet Honey Thyme Butter Drizzle. 


After a light sprinkling of some flaky sea salt and thyme leaves, your Asparagus Brie Bundles are ready to be served. 


The recipe makes eight (8) Asparagus Brie Bundles. When serving appetizers at a cocktail party or informal gathering, small bites are sometimes better. Cutting these bundles in half, transforms them into perfect, little bites. I should warn you though, most everyone will want a second half bite. These are that good. Both the bundles and the drizzle can be made several hours ahead of serving. Directions are in the notes below.


As long as I can find fresh rhubarb and asparagus in the grocery store over the course of the next couple of months, I can handle whatever wild weather may be in store of us. On a side note, when the 'real' strawberry season gets here, I may attempt to make the Strawberry Meringue Cake again. Never underestimate what the discovery of a swoonworthy appetizer and great bottle of wine can do to one's spirit.


These Asparagus Brie Bundles with Honey Thyme Butter Drizzle have two kinds of wow factors. They are wickedly delicious and insanely beautiful. I was screaming when I took my first bite. But not for the same reasons I was screaming when having a baking blunder moment. 


Whether or not your culinary ego needs a boost or whatever the weather is outside, you need to make these. I promise they are destined to make multiple appearances on your talble for as long as you can find fresh asparagus at the markets.

Recipe
Asparagus Brie Bundles with Honey Thyme Butter Drizzle (inspired by a recipe from halfbakedharvest)
Serves 8 as a main course and possibly up to 10-12 as an appetizer (most everyone will want to have a second half)

Ingredients
Honey Thyme Butter Drizzle
3 ounces honey
3 Tablespoons unsalted butter
1 Tablespoon plus 1 teaspoon  freshly minced thyme leaves, plus more for finishing
Pinch of sea salt

Asparagus Brie Bundles 
1 1/4 pounds of fresh asparagus, ends trimmed (choose thin spears)
1 Tablespoon olive oil
Kosher salt and black pepper
2 sheets Puff Pastry, thawed
8-12 ounces brie, cut into 8 thick slices (slices should have a thickness of approximately 1/3")
1 large egg, lightly beaten
Pinch of Aleppo Pepper
Flaky Sea Salt for finishing

Directions
Honey Thyme Butter Drizzle
1. In a small saucepan, melt the butter over low heat.
2. Add in the honey and fresh thyme. Stir until well blended and slightly thickened. Remove from the heat. Set aside.

Asparagus Brie Bundles 
1. Preheat oven to 375 degrees (F).
2. Line two large baking sheets with parchment paper. Set aside.
3. Toss the asparagus with the olive oil. Lightly season with salt, pepper, and the Aleppo pepper. Set aside.
4. Roll out the thawed puff pastry on a lightly floured surface. Cut each puff pastry sheet into 4 squares, for a total of 8 squares. Rotate each square so it's points are on the top and bottom (it will look more like a diamond versus a square).
5. Place a piece of brie (approximately 4" in length) down the center of each puff pastry square.
6. Lay a bundle (approximately 7-9) asparagus spears on top of the brie. Note: The asparagus should extend over the top and bottom of the puff pastry square.
7. Take corners of the puff pastry and wrap over the asparagus. Brush some of the egg wash under one of the folded over points to seal the puff pastry. Continue until you have 8 finished bundles.
8. Transfer the bundles to the prepared baking sheets.
9. Brush the puff pastry with the egg wash. Sprinkle lightly with sea salt and black pepper.
10. Place baking pans in the preheated oven. Bake for 22-26 minutes or until the puff pastry is golden brown.
11. Minutes before the bundles are ready to come out of the oven, reheat the Honey Thyme sauce.
12. Transfer the baked Asparagus Brie Bundles to a large platter or to individual serving plates. Drizzle with the Honey Thyme sauce and lightly sprinkle with some additional sea salt and chopped thyme leaves. 
13. Serve immediately. The Asparagus Brie Bundles are best when warm.

Important Notes: (1) Each slice of brie should be approximately 4 inches long, 1 inch wide and approximately 1/3" thick. Rinds do not need to be removed. (2) You can thaw your puff pastry in the refrigerator overnight rather than thawing according the package directions. You can use the more expensive frozen puff pastry, but I used the Pepperidge Farm Puff Pastry Sheets with great success. The 1.1 pound box contained two sheets of puff pastry. (3) I used some Savannah Bee Honey for the Honey Thyme Drizzle. (4) If serving as an appetizer on a buffet, cut each of the bundles in half diagonally. (5) The bundles can be assembled up to the point of the egg wash several hours before serving. When ready to serve, preheat oven, brush with the egg wash, season, and bake.

Wednesday, April 24, 2019

Jarlsberg Cheese Spread


Almost five years ago I shared the recipe for my favorite Pimento Cheese Dip (I am shuddering looking at those photos posted, yikes). Quintessentially Southern, Pimento Cheese is one of the foods traditionally served at Kentucky Derby parties. Often spread on white bread (crusts removed of course) and cut into small sandwiches, every family has their favorite generations old, sometimes secret homemade recipe. Once you have tasted a homemade Pimento Cheese you will never again buy anything store bought or in a jar. Perhaps if you live in the South there are local food stores who make and sell some pretty good fresh Pimento Cheese. But if you live up here in the North, you are more likely to find a needle in a haystack.


While on my daily trek to the grocery store this week, my attention was drawn to some tiny samples of a cheese spread served on crackers. Normally I don't eat any store samples, but some inner voice was compelling me to try it (maybe it was my starving voice). And so I did. I wanted to eat all of the samples of what I learned was a store-made Jarlsberg Cheese Spread. Partly because I was hangry, and partly because it was pretty good. Unbeknownst to me, this spread has been around for awhile. Apparently I have been living under a rock or maybe a boulder. As not only have I never had this spread before, I don't think I remember ever eating Jarlsberg Cheese.


So what exactly is Jarlsberg Cheese? It's a mild, semi-sort cow's milk cheese of Norwegian origin. Resembling a Swiss Emmental with it's distinctive, open, and irregular 'eyes', it tends to be sweeter and stronger in flavor than Emmentaler. The semi-firm yellow cheese, generally coated in a waxy rind, is buttery, rich in texture, mild, and slightly nutty in flavor.

More importantly, what adult beverages should Jarlsberg cheese be paired with. A good Merlot or Cabernet is generally recommended. Although, pairing it with some sparkling wine (Prosecco, Moscato D'Asti, Champagne, and/or Sparkling Rose) might be the most fascinating combination. Bottles of iced cold beer would be an equally good pairing option. 


I looked at a few recipes online but didn't think any of them would be as creamy as the one I tasted in the store. So I set off to create my own Jarlsberg Cheese Spread recipe. As bold as this is going to sound, I think this recipe is a winner! It's seriously, addictively, lip-smacking delicious, and amazing! Honestly, I needed a moment after I tasted it.


Almost all of the Jarlsberg Cheese Spread recipes I looked at called for the use of minced red onion. Given the flavor profile of the cheese, I thought minced shallots, with their soft undercurrent of onion and pop of garlic flavors, might make for an even more delicious spread.


Having tasted the store-bought Jarlsberg Cheese Spread made with red onion and this one made with shallots, I would lean more toward making a shallot based spread. But I wouldn't refuse to eat one made with minced red onions.


Paired with an assortment of crackers and/or baguettes, this Jarlsberg Cheese Spread might become your favorite summer entertaining and/or signature Kentucky Derby party appetizer. Trust me when I say this homemade version will be better than anything you can buy at the grocery store. 


From start to finish, the cheese spread takes less than 30 minutes to make. While you could serve it immediately, I recommend giving it some chilling time in the refrigerator. Initially I mixed in one cup of mayonnaise with the one pound of grated Jarlsberg. However, one cup of mayo wasn't providing the consistency I was looking for. In the end, I used somewhere between 1 1/3 and 1 1/2 cups of mayonnaise. The use of heavy cream helped to further give this spread an even creamier texture.

Who knew that eating a sample in the grocery store could be so enlightening and life-changing. I suppose I should partake in food samples more often. Because you just never know where one bite will lead you.

And now you have two cheese spread options for your Kentucky Derby party. Although I would recommend you make them both.

Recipe
Jarlsberg Cheese Spread

Ingredients
1 pound plus block of Jarlsberg Cheese, shredded on the largest hole side of the grater
3 rounded tablespoons shallots (or red onion), finely minced
3/4 teaspoon kosher salt
1 1/3 to 1 1/2 cups mayonnaise
3 Tablespoons heavy whipping cream
Assortment of crackers, sliced baguette, and/or grilled baguette

Directions
1. Add all of ingredients in the large bowl, beginning with adding in only 1 1/2 cups of mayonnaise. Mix with a spatula. 
2. If mixture does not have a creamy consistency, add the additional mayonnaise.
3. Transfer cheese spread to a serving dish. Chill for at least one hour before serving.
4. Serve with an assortment of crackers, sliced baguette, grilled baguette and/or any combination of the three.

Notes: (1) I used Duke's Mayonnaise, however, Hellman's would be an equally good choice. (2) I used an assortment of crackers (one with a savory onion flavor profile ad one plain wafer) and a baguette. A lightly toasted or grilled baguette would be a great accompaniment to this Jarlsberg Cheese Spread. (3) Spread can be made a day in advance and will last several days in the refrigerator in a tightly sealed container. (4) This spread would also be good on a grilled Reuben. Instead of using Swiss cheese, use the Jarlsberg Cheese Spread. Your reuben sandwiches will be amazing! (5) Recommend buying a piece of Jarlsberg Cheese slightly larger than one pound, to account for the weight reduction when the rind is removed prior to grating.


Wilder Park (Elmhurst, Illinois) on an April morning (2019)