You might argue that the star of the show in these Mini Pavlovas w/ Lemon Curd, Berries & Whipped Cream is the tart, creamy, luscious Lemon Curd. Or you could easily make the case that the crisp on the outside, pillowy on the inside meringues deserve that honor. When you consider these meringues are actually mini-pavlovas, you might be tempted to give the nod to the meringues. I mean, really, is there anything more impressive than being served a pavlova for dessert? Okay, maybe you think so. Or maybe you have never had the good fortune of tasting one. Yes, I can be bold, even a bit cheeky, in my beliefs and assertions. It's one of the benefits of having this food blog.

Now that I have (un)intentionally pitted the lemon curd against the meringues, I am going to make an audacious claim. There is no single star in this dessert. Rather it's the interplay between the lemon curd, the meringues, the berries, and the freshly whipped cream responsible for putting it into the show-stopping dessert category. With the most heavenly combination of flavors, the jaw-dropping gorgeous mini-pavlovas are one of those rare desserts where each part makes the other part even more delicious. They are a flavor and textural wonder.
What better way to welcome in the spring and celebrate the anticipation of summer than with a refreshing lemony dessert? Imagine ending your dinner party with platter of these mini-pavlovas. Some of them might say you raised the bar to an impossibly high to reach level. Humbly protest, but silently consider that high praise.
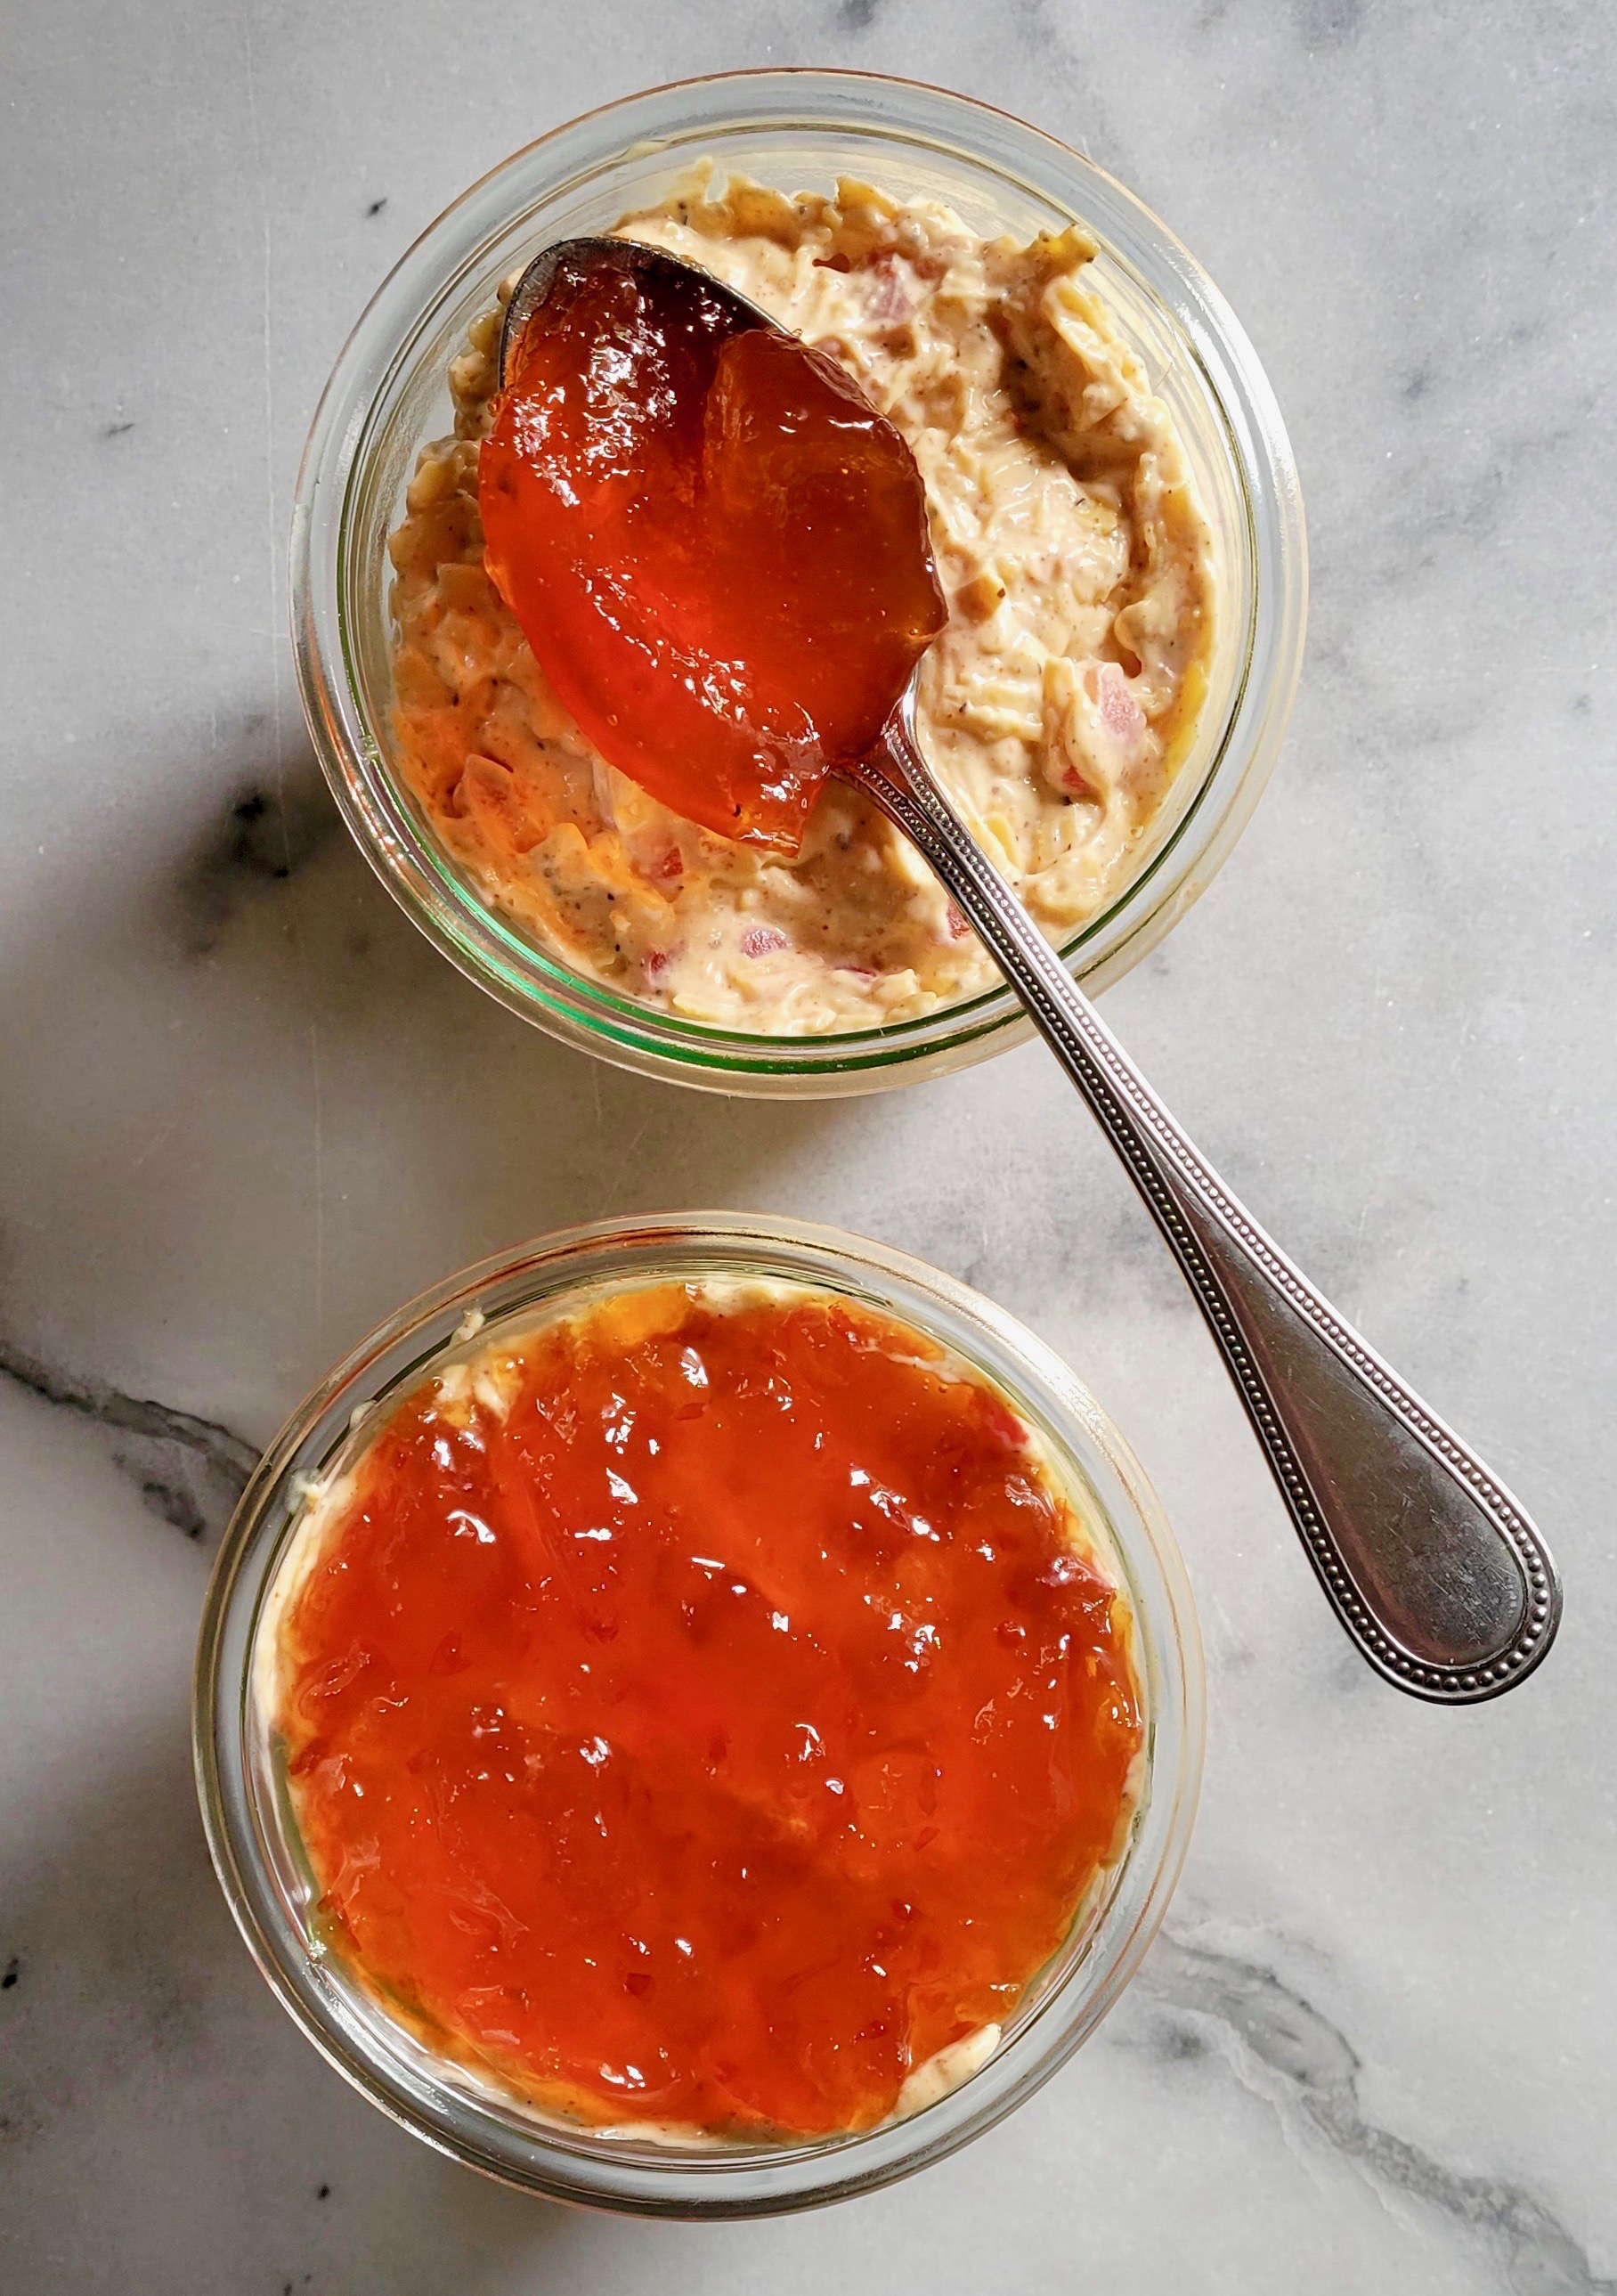
There are essentially three parts to the mini-pavlovas. The lemon curd, the meringues and the whipped cream. All of them can be made ahead of time, especially the silky, tart lemon curd. The curd needs to be cold (chilled) when you assemble the pavlovas, so making it one or two days beforehand is the best way to turn what looks like a complicated dessert, into a relatively easy one. The recipe for the lemon curd will give you more than you need, however, you can use what's left to serve with scones, to just eat off a spoon, to make a lemon tart, to spread it on toast, to fill crepes, or to make a parfait. I promise, it will not go to waste.

Making meringues requires a little bit of patience. Patience when you are whipping the egg white, sugar, white vinegar, vanilla, and cornstarch to a thick, shiny, firm peaked state. And when you bake it so that it reaches crisp on the outside and marshmallowy on the inside state. So here are some helpful hints. When beating the mixture, begin with a medium-low setting. Gradually increasing to medium and ultimately to medium-high. This process will help create a thicker, more stable meringue. When baking the meringues, begin with your oven temperature set to 275 degrees (F). After fifteen minutes, reduce the temperature to 225 degrees (F) and continue baking for another 45 minutes. Your baking time will only be an hour, but keep the meringues in the oven for at least an hour after you turn off the oven (and keep the door closed). Allowing the meringues to 'cool' in the oven will help prevent cracking.
.jpg)
The meringues can be baked early in the day. Cover with a light towel (e.g., flour sack towels work great) and keep at room temperature. Note: The texture of the meringue shells will change over time. They might not be as crispy on the outside if you make them the day before.
When you are ready to assemble the mini-pavlovas, begin by lightly dusting the meringue shells with confectionary sugar. Then spoon on a generous dollop of the lemon curd.
Next come the berries. For garnish, consider using mint leaves or flowers. Last, but not least, top with a large spoonful of the freshly whipped cream. Serve the mini-pavlovas on a large platter or on individual plates. Or serve the pavlovas family style and let everyone put on the lemon curd, berries and whipped cream to their heart's content.
And just when you thought this dessert couldn't get better, it does. These Mini Pavlovas w/ Lemon Curd, Berries & Whipped Cream are gluten-free!
If you are looking for a dessert to elevate your game, make these Mini Pavlovas w/ Lemon Curd, Berries & Whipped Cream. If you are looking to leave your guests feeling satisfied, euphoric, on a (slight sugar) high note, or like royalty, make these melt in your mouth pavlovas. Because there may be nothing better or more drool worthy than a crisp, pillowy meringue set against a tart lemon curd, juicy fresh berries, and the creamiest freshly whipped cream. Even your die-hard chocolate dessert loving friends may learn there is more than to one to end the night in a food coma.
Recipe
Mini Pavlovas w/ Lemon Curd, Berries & Whipped Cream
Serves 9-12
Ingredients
Lemon Curd
4 large eggs, room temperature
1 1/2 cups (300g) granulated sugar
2/3 cup freshly squeezed lemon juice (from approximately 4 lemons)
Zest from four lemons
12 tablespoons or 1 1/2 sticks unsalted butter (170g) at room temperature
1/8 teaspoon sea salt
Meringues
4 large egg whites
1 cup (200g) granulated sugar
1/4 teaspoon Kosher salt
1 1/2 teaspoons cornstarch
1 teaspoon white vinegar
1 1/2 teaspoons vanilla
Whipped Cream
1 cup heavy cream
1 teaspoon vanilla
2 Tablespoons confectionary sugar
2 Tablespoons sour cream
Confectionary sugar for dusting
Fresh berries and mint leaves and/or flowers for garnish
Directions
Lemon Curd
1. In a heavy bottom medium sized saucepan, beat eggs and sugar together.
2. Add lemon juice, lemon zest, butter, and sea salt. Stir until all ingredients are combined.
3. On medium-high heat, bring mixture to a boil (whisking constantly) so that it thickens. Note: The mixture's temperature should reach 170-180 degrees (F).
4. Remove from heat, strain and transfer to a heat proof bowl or jars. Place a piece of plastic wrap on top to prevent a crust from forming. Allow to cool before chilling in the refrigerator. (Note: Mixture will need to be well chilled before proceeding. Recommend making lemon curd early in the morning or the day before.)
Meringues
1. Preheat the oven to 275 degrees (F). Line two heavy bottomed baking sheets with parchment paper.
2. In a medium sized bowl, whisk together the sugar, salt, and cornstarch. Set aside.
3. In the bowl of a standing mixer fitted with a whisk attachment, add in the egg whites. Beat on medium/low speed just until they begin to thicken.
4. Increase speed to medium and add several tablespoons of the sugar/salt/cornstarch mixture. When the mixture has disappeared into the eggs whites, add another several tablespoons. Continue until all of the mixture is incorporated into the egg whites. Then beat for two additional minutes.
5. Add in the vanilla and white vinegar. Initially beat the mixture on a medium speed (for about 3 minutes). Then increase speed to medium/high and beat until the egg white mixture is glossy and stiff peaks form when the whisk is lifted. This might take an additional 3-4 minutes. But check the meringue for doneness every two minutes.
6. Using a large cookie scoop (about 2 1/4" in diameter), place balls of dough on the prepared cookie sheets. You should have a minimum of 9, maximum of 12 scoops. Notes: Put no more than 6 scoops on each tray. My yield was 9 meringues.
7. Using a tablespoon, press down lightly to create an indentation in the center of each ball.
8. Place the baking pans in oven. Bake for 15 minutes at 275 degrees (F). Then reduce oven temperature to 225 degrees (F) and continue baking for another 40-45 minutes. Turn off the oven (keep the door closed) and let the meringues cool (at least 1 hour but no more than 2 hours). Note: Before turning off the oven, press the outside of the shell (it should feel firm) and press lightly in the center of the shell (it will be slightly soft).
Whipped Cream
1. In the bowl of small standing mixer fitted with a whisk attachment, beat the whipping cream at medium speed. As soon as it begins to thick, add in the confectionary sugar. Continue beating until soft peaks form. Add in the vanilla and sour cream, continue beating until medium peaks form. Note: Can make the whipped cream ahead earlier in the day. Store covered in the refrigerator.
Pavlova Assembly
1. Place your pavlova meringues on a serving platter or individual plates. Lightly dust with confectionary sugar.
2. Place a generous dollop of the lemon curd in the center of the meringue.
3. Add your fruit, mint and/or flower garnish.
4. Add a generous dollop of the whipped cream.
Notes: (1) You can make the meringues and whipped cream early in the day. Keep the baked meringues at room temperature and cover with a light kitchen towel (e.g., flour sack towel). Keep the whipped cream in the refrigerator. (2) Highly recommend making the lemon curd the day before. It will be good for at least two weeks in the refrigerator. (3) Instead of a fruit garnish, you can top with chopped pistachios. (4) Use the leftover egg yolks to make a custard, like the one in this
Graham Cracker Custard Pie.


.jpg)


.jpg)


