Thursday, July 23, 2015

Tara's Chocolate Chip Cookies


Seemingly in an attempt to simplify the world and eliminate all shades of gray, we have been grouped into or defined by a myriad of classifications. Very few of us left high school without being willingly or unwillingly bound to one group or another. Almost daily there is some unscientific, yet ridiculously entertaining BuzzFeed survey feeding into our underlying need to feel connected to a group, regardless of how fiercely independent, unique, or different we believe ourselves to be. I can't help but wonder if we secretly wish these surveys would tell us something different, validate what we already know, or prove to some of the people in our lives they just don't really know us. It's okay if you don't want to admit being lulled into taking at least one of these surveys for any, some, or all of the aforementioned reasons. For those of you who have not yet been tempted, what are you afraid of? That the survey results will get hacked and everyone will discover your personal theme song, what country music cliche you exemplify, or which 80s movie girl you are? Spoiler alert: Everyone already knows. 

Regardless of our chosen profession, there are yet another set of groups to belong to, to define us. The Innovators, the Early Adopters, the Second Wave Followers, and the Laggards. The smallest of these groups are the innovators, the risk-takers, the ones quick to adopt new and innovative approaches or strategies. The Early Adopters, perennially young and restless are the ones paying attention to the discoveries and lessons learned by the innovators. The Second Wave Followers, skeptics who prefer to take the wait and see if this too shall pass approach before finally caving. And then there are Laggards, the traditionalists, content with the way things are, the last to change. In the food world, I find myself in awe of some of the innovators and going in and out of all of the other groups. Yes, even the laggards. In the spirit of self-disclosure and the risk of skewing to TMI, I must confess to being in a state of kicking and screaming over kale, adding sriracha sauce to almost everything, or topping my favorite foods with kimchi. 


However, I am happy to announce I have joined the group of early adopters of innovator foodblogger Tara O'Brady's chocolate chip cookie recipe. As loyal to and enamored as I have been with the Jacques Torres chocolate chip cookie recipe, I am now completely smitten with Tara's as close to chocolate chip cookie perfection as is possible recipe. They are the complete package. Beautiful, crispy around the edges, chewy in the center, chocolatey, addictive, incredibly easy to make. There is nothing high-maintenance about these cookies, yet you might think only high end kitchen tools and ovens could create such chocolate chip cookie perfection. 

Who knew that all it took was a large bowl, a whisk and a wooden spoon. Well Tara knew.


Chopping the chocolate might be the most time-consuming part of the recipe. If you have yet to give up using chocolate chips for your chocolate chip cookies, you should know chopped chocolate is not a passing, this too shall pass trend. There are not enough adjectives to describe the taste and texture Trader Joe's Pound Plus Dark Chocolate Bars bring to this cookie. I would put it in a throwdown against any of the high-end, pricey dark chocolate bars out there.

After reading the advice of other foodbloggers, I decided to wait to bake the cookies until they had a chance to chill in the refrigerator overnight. Forming the dough into balls, placing them on a parchment paper lined tray, and lightly covering them with a plastic wrap before chilling, makes baking the cookies feel effortless.

Approximately three tablespoons of dough goes into making the cookies. To ensure as uniform of a cookie as possible, I used an almost three tablespoon ice cream scoop and then rolled the dough into balls. However, you don't even need an ice cream scoop to make these cookies. 


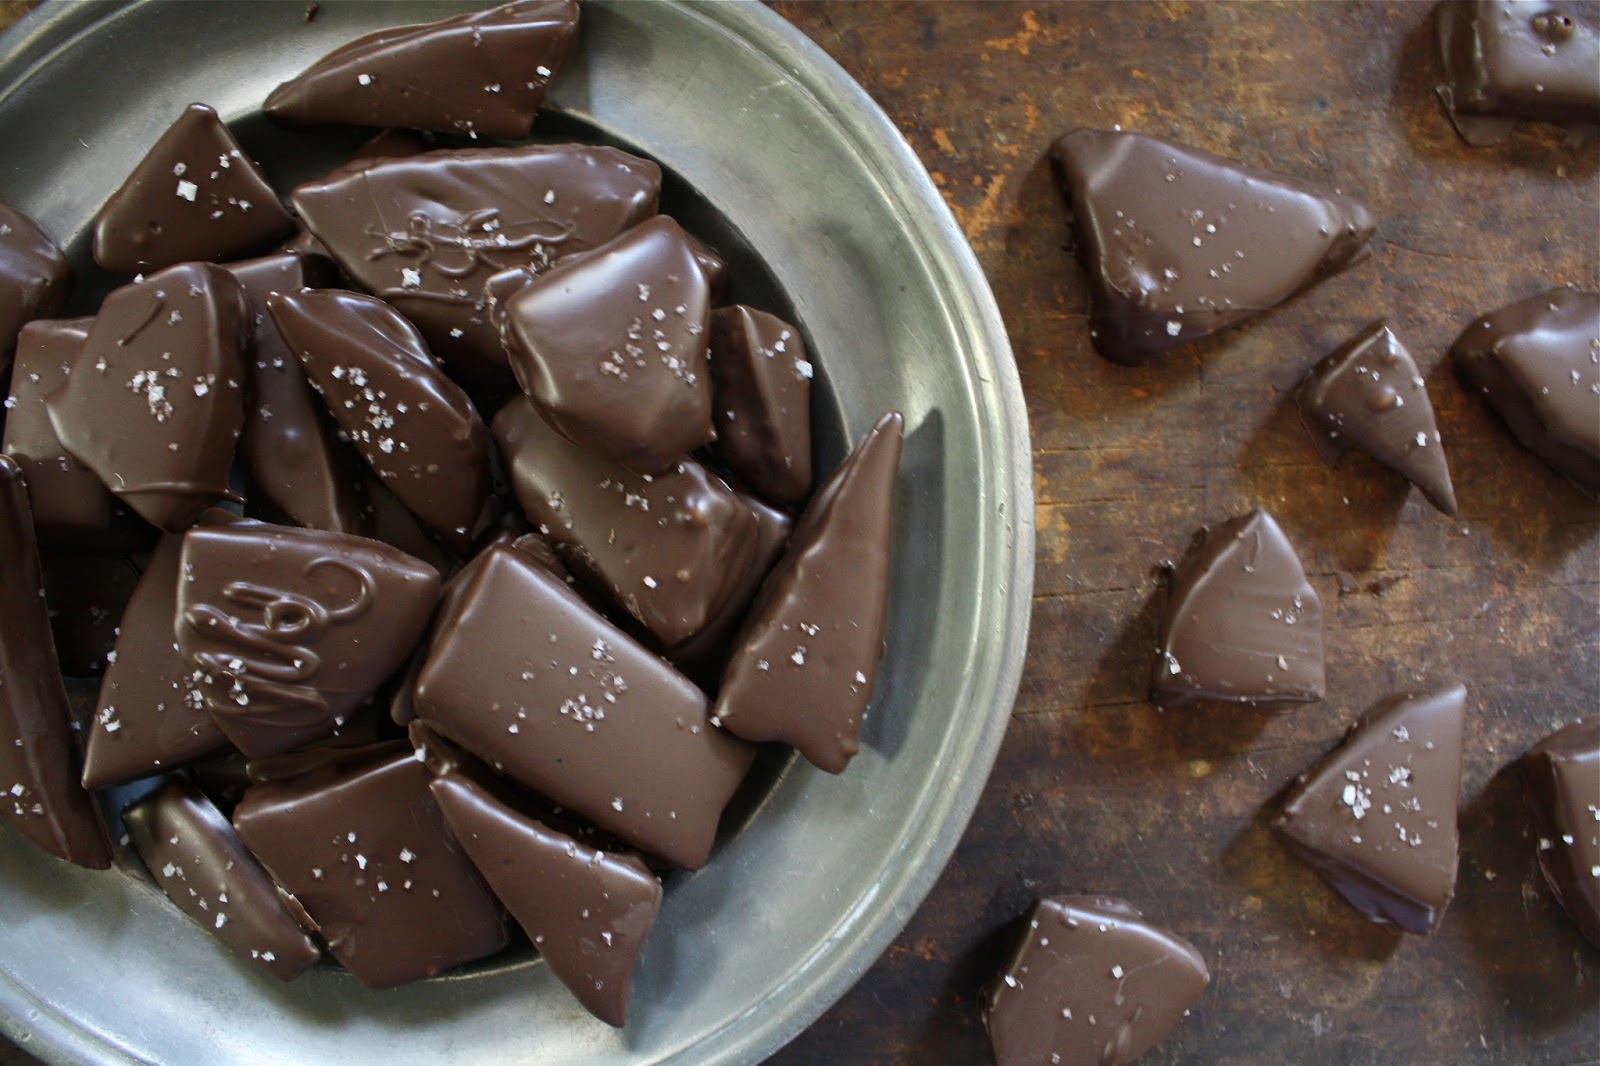
A light sprinkling of flaky sea salt is the finishing touch.


The cookies spread when they bake. Allow for at least 3 inches of space between each of the balls of dough.


The cookies are baked in a preheated 360 (F) degree oven. Yes, 360 (not 350, not 375). My oven doesn't have a digital temperature setting, so I set it a smidge over 350 degrees. This lack of oven temperature precision may have been responsible for increasing my baking time by a couple of minutes. Before placing the cookies on a cooking rack, they remain on the cookie tray for two minutes.


One taste of Tara's Chocolate Chip Cookies and you won't be able to resist giving up your favorite chocolate chip cookie recipe. Unless of course, you take great pride being set in your ways or in belonging to the group known as the chocolate chip cookie laggards. If it has been awhile since you felt real bliss, make these cookies. Because cookie bliss is better than no bliss at all. And feel free to call them your own. 

Recipe
Tara's Chocolate Chip Cookies (inspired by Seven Spoons blogger Tara O'Brady's Basic, Great Chocolate Chip Cookies recipe)
Makes 28-32 large golf ball sized cookies
Updated December 2021

Ingredients
1 cup (225 g) unsalted butter, cut up into 8 pieces (European style butter highly recommended)
3 1/4 cups (415g) all-purpose flour
1 1/4 teaspoons baking powder
1 teaspoon baking soda
1 1/2 teaspoons kosher salt
1 1/4 cups (260g) light brown sugar, firmly packed (See Notes)
1/4 cup (60g) dark brown sugar, firmly packed 
1/2 cup (100 g) granulated sugar
2 large eggs, room temperature
2 teaspoons vanilla
12 ounces (340 g) semi-sweet or bittersweet chocolate, chopped (Recommend Trader Joe's Pound Plus Dark Chocolate)
Flaky sea salt for finishing (Recommend Maldon Sea Salt)

Directions
1. In a heavy bottomed saucepan, melt butter on lowest heat possible to ensure the butter does not sizzle or lose any of its' moisture. Stir occasionally. Once the butter has melted, remove from heat and set aside.
2. In a medium sized bowl, whisk together the flour, baking powder, baking soda and kosher salt. Set aside.
3. In a large bowl, pour in melted butter. Add brown sugars and granulated sugar, whisking until sugar has melted. 
4. Add eggs, one at a time, whisking after each addition.
5. Stir in vanilla.
6. Using a wooden spoon or silicone spatula, stir in flour mixture until barely blended and still a bit floury.
7. Stir in chopped chocolate until all ingredients are combined.
8. Using a large ice cream scooper (large golf ball sized), scoop dough and place on parchment paper lined cookie sheet. Leave at least 3 inches between the cookies. Note: For best results, the dough balls should be refrigerated at least 6 hours or overnight on a lightly covered tray.)
9. Before baking sprinkle each cookie with a bit of flaky sea salt.
10. In a preheated 360 degree (F) oven, bake cookies until the tops are cracked and lightly golden rotating pan halfway through the baking process. Baking time is approximately 10-12 minutes, however, mine ranged from 13-14 minutes. This could be due in part to not having a digital oven. Recommend checking the cookies at 10 minutes and making any time adjustments as necessary.
11. Allow cookies to cool on pan for at least 2 minutes before transfering to a wire rack to cool completely.
12. Enjoy immediately! Store cookies in a sealed container.

Additional notes: (1) You can alter the amounts of light and brown sugars used, but recommending not increasing your dark brown sugar to more than 1/2 cup or reducing the light brown sugar to less than 1 cup. The total amount of brown sugars used will be 1 1/2 cups or 320 g. (2) Chilling the balls of dough at least 6 hours or overnight is a game-changer. When baking each sheet of cookies (about 8-9 will fit on a sheet pan), keep the remaining dough( formed into balls) in the refrigerator. (3) Once chilled, cookie dough balls can be transferred to a freezer ziplock bag and stored in the freezer. When baking, remove frozen cookie balls, place on baking sheet, sprinkle with sea salt, and bake. Baking time may be one or two minutes longer. (4) If you are not a big fan of dark brown sugar, use all light brown sugar. The inspiration recipe called for the use of light brown sugar only.


The windmill in the Children's Garden at Morton Arboretum in Lisle, Illinois.

Monday, July 20, 2015

Grilled Peach and Burrata Salad


Revealing the menu to guests can be a double edged sword. Sharing all or parts of the menu can sometimes elicit a kind of pre-dinner excitement similar to and often associated with the opening a much anticipated gift. However, it becomes particularly dicey when due to time, available ingredients, or unanticipated disasters, the shared menu undergoes a significant post-disclosure change. The unintentional 'bait and switch' can elicit a multitude of reactions. 'What do you mean we aren't having the....? 'You are kidding, right?' 'I was so looking forward to eating your...' After everyone has had time to process the menu change you hope at least one person will ultimately vindicate you and say something like 'I am sure whatever you made will be delicious.' While I can be a little cagey on what the exact menu will be (to ensure there is no disappointment), I have also been known to be much too forthcoming (leaving no element of surprise). This past weekend I had skewed to full disclosure and then made a significant change to the main course after waking up to find my usual over achiever self was no where in sight. 


I was hoping, the fingers and toes kind of hoping, the smoked salmon spread, the grilled peach and burrata salad, and blueberry crisp with vanilla ice cream would be more than enough to compensate for replacing the much anticipated Lobster Cobb Salad with pizza. And we aren't talking homemade pizza here.


The Grilled Peach and Burrata Salad would be a 'first' time served dish. Considering all of its' elements I was more than confident it would get rave reviews. Even from those who claim they aren't necessary big fans of the peach.


If you have never tasted the super creamy, buttery richness of burrata, a mixture of mozzarella and cream rolled into a ball, you absolutely must experience its' utter deliciousness. Sooner rather than later as nothing else compares to its' taste, flavor or texture. My first instant nirvana bite of burrata was at A Mano, a now unfortunately closed Italian restaurant in New Orleans. Served over a platter of caponata, everyone at the table was politely and not so politely fighting to get ever last bit of it onto their plates. With this fresh Italian cheese becoming more readily available in grocery stores, you and I now have the same access to this luxurious handcrafted cheese as restaurant chefs.


There may be no better way to celebrate the arrival of the peach season than this Grilled Peach and Burrata Salad.


What roasting does to bring out the sweetness and slightly alter, in the best of ways, the flavor of vegetables, grilling does the same thing for fruit. Especially peaches. Find large, almost ripe, but not too soft yellow flesh peaches for this salad. If too ripe, they will be difficult to quarter as well as disintegrate when grilled. Using extra-virgin olive oil to season the grill pan, the peach quarters are cooked for approximately 1-2 minutes on each exposed flesh side of the peach. Using the thinest spatula you have, the grilled peaches are carefully removed ensuring the charred grill marks remain. 


Most of the dressings for grilled peach and burrata salads call for the use of balsamic vinegar (the red stuff). But having recently used the white balsamic vinegar in the dressing for the Orecchiette Caprese Salad, I thought it would compliment the fruit perfectly. If everyone taking two helpings of this salad was any indication, I would have to say the white balsamic vinegar was a great choice.


There will be enough dressing to lightly dress the greens, drizzle over the peaches and burrata cheese, and serve on the side. Because my grocery store was out of baby arugula (my first greens choice for this salad), I used a spring greens mix. Baby spinach, baby romaine or any mixture of tender greens would work.

Over a platter lined with the lightly dressed greens, the grilled peaches and torn pieces of the burrata are arranged. Drizzle some of the remaining dressing over the peaches and burrata, lightly season with flaky sea salt and black pepper and your salad is done. If there was ever a case to be made for the virtues of simplicity the Grilled Peach and Burrata Salad would be a perfect exemplar.


In the event you commit the almost unforgivable crime of a changing out the menu you foolishly revealed in the first place, this Grilled Peach and Burrata Salad will give you more than a pass. It did for me. Although at some point in the near future I need to make the Lobster Cobb Salad. For the simple reasons I like to keep my promises and don't think you should keep anyone, especially people you call your friends, waiting indefinitely.

If in the week ahead you are planning a brunch or a dinner, make this salad. If in the week ahead you weren't planning a brunch or dinner, change your plans and make this salad. Peach season won't be here forever. And I guarantee, you will want to make this salad more than once before it ends. I think I just discovered my summer signature salad.

Recipe
Grilled Peach and Burrata Salad

Ingredients
Dressing
6 Tablespoons extra-virgin olive oil
2 Tablespoons white balsamic vinegar
2 teaspoons Dijon mustard (recommend Maille)
Flaked sea salt and black pepper

Grilled Peaches and Salad
1 Tablespoon extra virgin olive oil
4 large yellow-flesh peaches, near ripeness but not too soft, quartered and stoned
8 ounce ball of burrata (or two 4 1/2 ounce balls), drained and torn into chunks
3 cups spring greens, arugula or baby romaine 
Flaked sea salt and black pepper

Directions
Dressing
1. Lightly whisk together the extra-virgin olive oil, white balsamic vinegar and mustard. Season with flaky sea salt and black pepper. Set aside.

Grilled Peaches and Salad Assembly
1. Lightly grease a griddle pan with 1 Tablespoon extra-virgin olive oil. Turn heat to high to get pan evenly hot.
2. Place peach quarters cut-side down and cook for 1-2 minutes per exposed side (Note: Do not cook on skin side.) 
3. Gently life up with a thin spatula so as not to leave charred grilled marks on pan and place on a dish. (Note: Charring adds to the flavor.)
4. In a large bowl, very lightly dress the greens using almost half of the dressing. Be careful to not over dress the greens.
5. Distribute greens on a large platter.
6. Arrange grilled peaches and pieces of burrata on top of the greens.
7. Lightly drizzle some of the remaining dressing over the peaches and burrata. Lightly season with flaky sea salt and pepper.
8. Serve immediately. Serve any remaining dressing on the side.


Friday, July 17, 2015

Orecchiette Caprese Salad


Based on the last several blog posts one could easily surmise I either have an insatiable sweet tooth or the only foods in my house are eggs, butter, sugar, flour, cream and chocolate. Your first assumption would be correct. With regard to the second inference, let's just say there is probably a disproportionate number of baking ingredients occupying the space in the refrigerator and cabinets. If, for some reason we suddenly found ourselves living in a post-apoloptic world tomorrow, my best chance for survival would be to figure out a way to turn all of these ingredients into some sort of currency. One does not need to go back as far back as far as the 16h century to be reminded of the power and monetary value chocolate had for the Aztecs and Mayans. During the Revolutionary War chocolate was such a prized commodity, it was included in soldier's rations in lieu of wages. If history does indeed have a way of repeating itself, my chocolate inventory might come in handy.


But one cannot live on sweets and confections alone (at least in the long term). Going to the farmer's market to buy 'fresh, seasonal' ingredients is almost as dangerous as going to Nordstrom's Anniversary Sale (which I have thus far managed to keep from going to). There is an irresistible quality to the fresh vegetables, fruits, flowers, and herbs all so artfully arranged on tables. And then there are the fresh cheeses, breads, eggs, and smoked fish, all conspiring and competing for my attention as well as severely testing my ability to have at least a fair amount of self-control. Upon seeing some garlic scapes in one of the booths, I immediately knew how the mid-week excursion to the farmer's market was going to turn out. Restraint was definitely not going to be the word of the day.

One farmer's market purchase inspires another, then another.The seasonal garlic scapes led to the purchases of fresh basil and baby heirloom tomatoes giving me three of the fresh ingredients needed to make an Orecchiette Caprese Salad. Weeks back when I was sorting through the boxes of food magazines, I committed the sacrilegious crime of tearing out pages containing recipes I wanted to make.  There were mixed reviews on the warm version of this salad, but thought orecchiette pasta and white balsamic vinegar were refreshing modifications to the classic caprese salad.


Choose either baby heirloom tomatoes or grape tomatoes for this salad. Think colorful.


The orecchiette 'little ear' pasta is cooked to a point slightly past al dente but well before it turns too soft.  I am not aware of the technical culinary term for this but you know it when you taste it. 

If you are lucky enough to find the lime-green garlic scapes at your farmer's market or grocery store, buy them. The curlicued shoots have a mild garlicky goodness, a slight sweetness, and asparagus-like texture. But if you can't find them or they are out of season, use garlic chives instead. Fresh basil adds a flavor dimension to this salad that no other herb can. Seriously, don't even think of using anything else. There is no substitute for fresh basil.


Okay, I know what might be thinking. Do I really need another type of vinegar? Well, the use of white balsamic vinegar in the dressing is mostly aesthetic, however, it does not discolor either the orecchiette or mozzarella. Having a similar sweet taste to balsamic vinegar, the white balsamic vinegar has a much cleaner after taste. So, are you convinced yet? This dressing is made with a 2-1 ratio of extra-virgin olive oil to white balsamic vinegar along with some sea or kosher salt and black pepper to taste.

These little mozzarella pearls are much smaller than bocconcini. Because of their small spongy texture, they easily absorb the flavor of the dressing. If you can find them, buy the bocconcini and cut them into smaller penny size pieces. You can add the mozzarella to the salad either before or after you toss with the dressing. In order for the pasta and tomatoes to absorb more of the dressing, I usually wait to mix in until the salad has been tossed.


If there was ever a salad to celebrate summer's bounty of herbs and vegetables, this would be the one. A great alternative to the traditional caprese salad. Fresh, ripe, summer baby tomatoes are like bites of nature's candy. Unlike regular tomatoes, flavorful grape tomatoes can be found year round, making this a four season salad.

After eating the Orecchiette Caprese Salad at room temperature and chilled, I would lean toward serving it at room temp. So if you make it early in the day, allow to sit out at least an hour before serving to allow the olive oil to return to its' original consistency.


Looking for a salad to pair perfectly with grilled chicken, meat or fish, your search is now over. Fresh herbs, colorful baby tomatoes, mozzarella pearls and the white balsamic vinaigrette Thankfully those impulsive purchases at the farmer's market have positive outcomes more often than not. As an added benefit, a stroll through the market doesn't have to be one of those expensive, do I really need to have it experiences. I can't say same thing happens when walking through one of my favorite department stores, especially during one of their semi-annual sales. 

I was going to wait to post the Orecchiette Caprese Salad but thought maybe it would encourage you to go to a farmer's market this weekend. But don't let me stop you from going shopping anywhere else.

Recipe
Orecchiette Caprese Salad (inspired by Bon Appetit's August 2009 Orecchiette with Fresh Mozzarella, Grape Tomatoes and Garlic Chives)

Ingredients
12 ounces orecchiette pasta
1 pound little pearl mozzarella or fresh mozzarella diced or fresh bocconcini cut into penny sized pieces. Recommend BelGioioso mozzarella.
1 pound baby heirloom tomatoes or grape tomatoes, cut in half lengthwise
7 Tablespoons extra-virgin olive oil
3 1/2 Tablespoons white balsamic vinegar
2 Tablespoons freshly minced basil
3 Tablespoons of garlic scapes, minced or 3 Tablespoons of garlic chives or a combination of both
Sea/Kosher Salt and Pepper

Directions
1. Cook pasta in salted water until barely tender, slightly al dente. Drain. Allow to cool to room temperature.
2. Mix together extra-virgin olive oil and white balsamic vinegar. Season with sea or kosher salt and pepper and set aside.
3. In a large bowl, combine cooled pasta, tomatoes, basil and garlic scapes/garlic chives. Pour dressing over and mix well.
4. Stir in mozzarella. 
5. Taste and season with additional salt and/or pepper as needed. 
6. Serve at room temperature or chilled.


Thursday, July 16, 2015

Honeycomb Toffee, Sea Salted and Dark Chocolate Dipped aka Sponge Candy


"After eating chocolate you feel godlike, as though you can conquer enemies, lead armies, entice lovers."(Pastry chef Emily Luchetti) It would seem quite incomprehensible that one could simultaneously be intoxicated and in control of one's emotions and actions. Yet the allegedly well-researched, documented magical powers of chocolate have been known to do just that. Sometimes things are just worth believing. After weeks of eating fresh strawberries, blueberries, blackberries, and cherries, my sweet tooth wanted something more than fruit. The number of options to feed the chocolate craving border on endless, but after thumbing through Nancy Silverton's Pastries from the La Brea Bakery cookbook I came across a recipe that took me on a trip down memory lane. If given the chance, who does not want the chance to relive a happy, memorable moment, especially if it has the added benefit of involving some form of chocolate?

Whether you call it Honeycomb Toffee, Sponge Toffee, Fairy Food Candy, Sea Foam Candy or Cinder Toffee, there is nothing quite like the caramelized sugar, slightly molasses-like, crispy, melt-away taste and texture of this confection. Cover it in a rich dark, semi-sweet, or milk chocolate and it is transformed into nothing short of a heavenly melt-in-your-mouth bite-sized confection. Sprinkle some sea salt on top and you might be inclined to keep it out of reach of anyone under the age of 21.


If you have ever shuffled over to Buffalo, you are well aware Sponge Candy is claimed as one of its' signature foods. And you thought their only food claim to fame are those fiery hot, spicy wings! Considered by some to be a regional candy, it was on a trip to Buffalo where I learned firsthand why so much fuss had been made around the golden, light, airy, crunchy bites, otherwise known as Honeycomb Toffee. In three whirlwind days we managed to attend the wedding of one of my staff members, do a 17 mile marathon training run, take side trips to Niagara Falls and Niagara on the Lake (loved the Canadian side of the falls) and have our first ever tastes of Beef on Weck, Anderson's Frozen Custard, and Chocolate Covered Honeycomb Toffee. Had taking photos of food been in vogue all of those years ago, it would be hard to say whether I would have taken more food or more Niagara falls photos. 


Normally one would not make Honeycomb Toffee on a hot, humid summer day, but the humidity had dropped, providing one of those must-take opportunities to make some. Humidity and honeycomb toffee are not friends.The honeycomb-like texture of the candy is achieved when baking soda is added to a mixture made of granulated sugar, corn syrup and water and cooked until reaching 300 degrees (F), the hard crack stage, on a candy thermometer. Note: When the baking soda is whisked in to the coked sugar mixture, it becomes foamy and dramatically increases in volume.


Working quickly after the baking soda is incorporated into the sugar mixture, pour onto a Silpat or baking sheet lined with parchment paper. (Note: The silicone non-stick liner not only aids in the honeycomb setting up, but makes removal very easy.) If the honeycomb remains slightly puffed up and has a shiny surface after its' poured and set for twenty minutes, you more than likely have achieved success.


It twenty (20) minutes, the Honeycomb is ready to be broken up into pieces or cut with a serrated knife. 


Once the Honeycomb has cooled and broken into pieces it needs to be immediately placed in a tightly sealed container or dipped in chocolate to prevent the candy from absorbing any moisture in the air and turning into a softened, sticky mess. In other words, once you start making the Honeycomb you need to finish it. But before dipping the pieces of Honeycomb into the melted chocolate, taste it. If for some reason the honeycomb is too dark, dense or hard it is best to make another batch. 

Taking this chocolatey, airy-crunchy, melt in your mouth confection to another level of additive, deliciousness was lightly sprinkling with a flaky, French sea salt. 

Deciding whether to dip the Honeycomb Toffee in dark, semi-sweet, or milk chocolate has everything to do with personal preference. At the moment I am on a dark chocolate kick. 

The odd-sized shapes to the Honeycomb Toffee may be a bit deceiving, especially for those who believe any chocolates and/or candies worth the calories must be perfectly shaped. Although randomly shaped pieces of Honeycomb Toffee seem to have their own kind of artisanal quality to them.


The Honeycomb Toffee, Sea Salted and Dark Chocolate Dipped could last for weeks stored in an airtight container, but probably won't, particularly if you make the location of the container known to anyone having a sweet tooth in your household. Admit it, you have hiding places and not just for those bags from your favorite stores. 

Recipe
Honeycomb Toffee, Sea Salted and Dark Chocolate Dipped aka Sponge Candy (inspired by a Nancy Silverton recipe in her cookbook Pastries from the La Brea Bakery)

Ingredients
1/4 cup water
1 1/2 cups granulated sugar
1/4 cup light corn syrup
1 Tablespoon baking soda, sifted
1 pound dark, semi-sweet or milk chocolate, melted
Flaky French sea salt

Directions
1. Line a baking sheet with a silpat or parchment paper. Set aside.
2. Measure and sift baking soda. Set aside.
3. In a heavy-duty, medium sized saucepan, stir together the water, sugar and corn syrup until combined. 
4. Over high heat bring the mixture to a bowl without stirring. Continue to cook until it reaches 300 degrees (F) on a candy thermometer. Immediately remove from heat. Note: The mixture will have a very pale straw-like color.
5. Working quickly, add the baking soda and whisk for a few seconds until the baking soda is incorporated. The mixture will bubble up and become foamy.
6. Immediately pour over prepared baking pan allowing it spread out on its' own. Do not spread with any utensil.
7. Allow to hard and cool completely (approximately 20 minutes).
8. Remove honeycomb from silpat and transfer to a cutting board. Using the tip of a sharp knife break the honeycomb into uneven chunks.
9. Dip pieces of the honeycomb into the melted chocolate and set on a parchment paper lined cutting board. Sprinkle lightly with sea salt while chocolate is still 'wet'. Allow chocolate to completely harden before transferring honeycomb to an airtight container in a cool place or in the refrigerator.
Note: If not dipping the honeycomb pieces in chocolate, transfer to an airtight container. Undipped toffee will soften in the refrigerator.


The sun setting in Ludington, Michigan.


The 'Badger' ferry leaving Ludington (MI) and returning to Manitowoc (WI).