Wednesday, February 24, 2016

Red Velvet Cake


Some days you just need a piece of cake to do more than simply satisfy a craving. Your body and soul absolutely must have a piece of cake for everything to feel right with the world. But not just any cake will do. Call me a cake snob, but for this kind of craving it has to be a homemade one, preferably one heavily lathered in icing.

And almost nothing satisfies or is more celebratory than a Red Velvet Cake with Cream Cheese Frosting.


Early on the Red Velvet Cake was known as the Waldorf-Astoria cake as it is alleged the original recipe was developed and served at the Waldorf-Astoria hotel. However, without causing any battle lines to be drawn between the North and the South, the Red Velvet Cake has also been strongly tied southern regional cooking origins. To add confusion over this cake's history, some claim the cake's recipe was developed by the wife of a wealthy department store owner. Regardless of who or where it was developed, it's popularity has increased significantly in recent years.

The original version of the cake was made with a French-style butter icing (ermine) versus a cream cheese frosting. The availability of red food coloring in the early part of the 21st century became the replacement for boiled beet and/or raspberry juices used in some of the early published recipes for this cake. In searching out recipes for this cake, I discovered there were multiple variations and conflicting ingredient recommendations. Ultimately I went with the one published in The Best of America's Test Kitchen (2008) cookbook because, well, just because.


Creating a cake light in texture, having a more tender crumb, remaining incredibly moist, and having no loss of flavor coming from the reduction of its' fat is due in large part to the use of buttermilk (versus milk and sour cream). And this Red Velvet Cake recipe calls for the use of buttermilk as the liquid ingredient.

After the dry ingredients and wet ingredients are mixed separately in medium sized bowls, the red food coloring and natural cocoa are mixed to a paste consistency. Natural cocoa versus Dutch-processed cocoa is what further helps to give this cake its' beautiful depth of color.


After creaming unsalted butter and granulated sugar, the wet and dry ingredients are added alternately, beginning and ending with the flour mixture. Note: Dry ingredients divided into thirds, wet ingredients divided in half. When the first half of the buttermilk mixture is added to the batter it will look as if it has curdled. Not to worry. The texture of the batter completely changes by the time the last of the flour mixture is beaten in. To finish the batter, the cocoa paste is blended in thoroughly. Before pouring the batter into the prepared baking pans, use a spatula to give the batter a final stir to ensure there are no 'light' batter streaks.

In a preheated 350 degree (F) oven, two nine inch cake pans bake for 25-30 minutes or until a cake tester inserted in the center of the cake comes out clean (my baking time was 30 minutes). Measuring the weight of the batter in each of the cake pans and rotating the pans halfway through the baking process helps to ensure you have two perfectly sized, evenly baked layers. After cooling for 10-15 minutes, the cake layers are removed from the pans and placed on a cooling rack for approximately one hour. The cake needs to be room temperature (or slightly chilled) before it is iced.


For the smoothest icing possible, always sift your confectionary sugar. How much icing you put on this cake or what kind of finished look you are going for is all a matter of personal preference. The amount of icing in the recipe below is enough to make a cake with naked sides, a generous center filling, and a thick pastry bag decorated top. If you want a cake with fully frosted sides, increase the proportions of the butter, cream cheese, vanilla, and confectionary sugar.

It almost seems a shame to slice off the beautiful domed top of the baked cake layers, the kind of dome causing oohs and aahs when the cake comes out the oven. But if you really looking for OOHS and AAHS when you put this cake out on the table and ultimately slice into it, you really do need to even out the layers.  Note: Those highly valued crumbs can be your reward for baking the cake or can be further crumbled and used to decorate the sides of the frosted cake.

Always put a thin layer of icing on the top layer of the cake if you are planning on finishing the top with a pastry bag piped design.


The finished look of your cake can be as simple or as fancy as you want.


The cake is easier to slice if you allow it to chill for at least an hour before serving.


We couldn't wait. This isn't a cake that qualifies as 'chocolate' although you will definitely taste the chocolate when you take a bite. And the cream cheese frosting ensures the tang created by the use of buttermilk and vinegar in the cake does not get lost. A slice of Red Velvet Cake is pure deliciousness, more than enough to satisfy that your 'I need to have, I must have a piece cake' craving.


This Red Velvet Cake is nothing short of amazing to both look at and enjoy. On your best days or on your worst days or a gray day, one piece of this iconic cake will have you feeling blissfully happy.

Recipe
Red Velvet Cake (mostly inspired by America's Test Kitchen's Red Velvet Cake recipe shared in The Best of America's Test Kitchen (2008) cookbook, icing recipe comes from a compilation of sources)

Ingredients
Cake
12 T unsalted butter, room temperature
2 1/4 cups (11 1/4 ounces) all-purpose flour
1 1/2 teaspoons baking soda
pinch of sea salt
1 cup buttermilk
1 Tablespoon white vinegar
1 teaspoon vanilla
2 large eggs, room temperature
2 Tablespoons natural cocoa powder (do not use Dutch Process cocoa)
1 ounce bottle (2 Tablespoons) red food coloring
1 1/2 cups granulated sugar

Icing
20 ounces cream cheese, room temperature
2 1/2 sticks (20 T) unsalted butter, room temperature
4 cups confectionary sugar, sifted
1 1/2 teaspoons vanilla
generous pinch of sea salt

Directions
Cake
1. Preheat oven to 350 degrees (F). Grease and flour two 9 inch cake pans, line with parchment paper, and set aside.
2. In a medium sized bowl, whisk to combine the flour, baking soda, and pinch of sea salt. Set aside.
3. In another medium sized bowl, whisk together the buttermilk, white vinegar, vanilla, and eggs. Set aside.
4. In a small bowl mix the cocoa and red food coloring together until a paste is formed. Set aside.
5. In a standing mixer fitted with a paddle attachment, beat the butter and granulated sugar at high speed until light and fluffy (approximately 3 minutes).
6. Add 1/3 of the flour mixture and beat on medium-low speed until just incorporated (30 seconds); Add half of the buttermilk mixture on low speed until combined (30 seconds); Repeat, ending with the flour mixture. Note: Scrape down the sides of the bowl during each addition.
7. On medium speed add cocoa mixture until completely incorporated (30-40 seconds). Using a rubber spatula, give the batter a final stir to ensure there are no streaks of white batter.
8. Divide the batter equally between the prepared cake pans, smoothing the top with an offset spatula. Note: Use of a measuring scale helps to ensure the evenness of the layer.
9. Bake for25-30 minutes, rotating the pans halfway through the baking process, until a tester inserted in the center comes out clean.
10. Allow the cakes for cool for 10-15 minutes, then turn out on a wire rack to cool completely (approximately 1 hour).
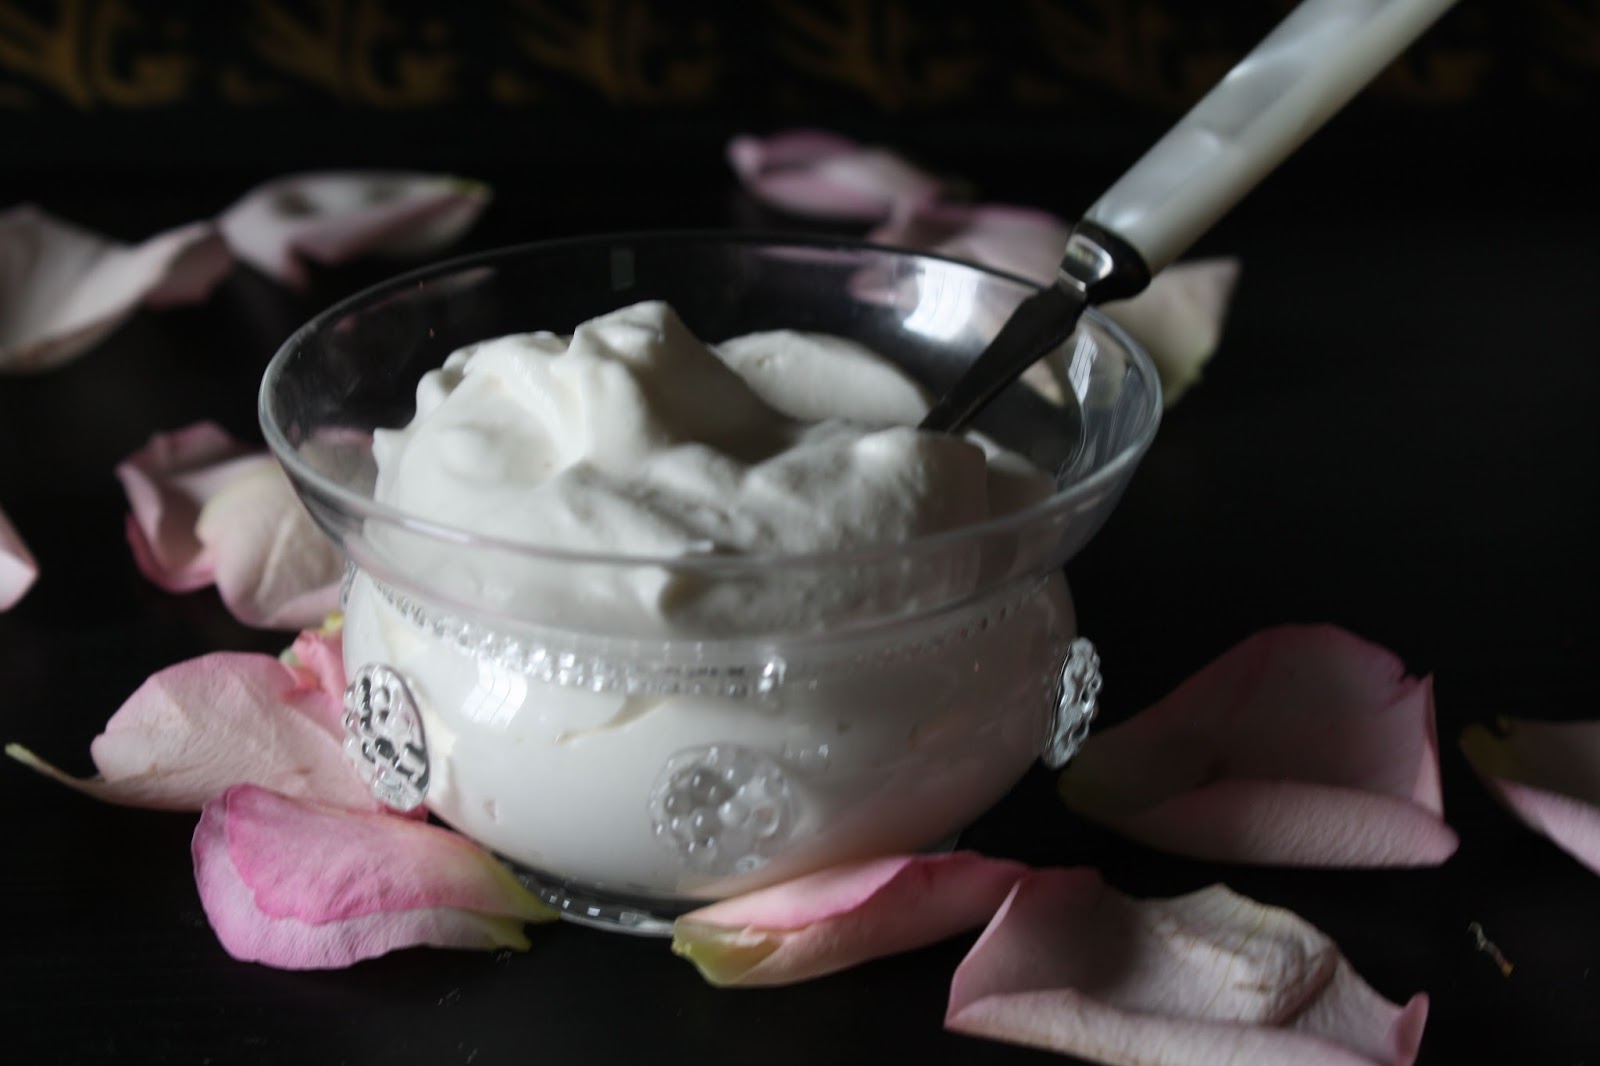
Icing
1. In a standing mixer fitted with a paddle attachment, beat the room temperature butter and cream cheese until well blended. 
2. Add sifted confectionary sugar and continue to beat until icing is light and fluffy. Scrape down the sides of the bowl as needed.
3. Beat in vanilla.
4. Refrigerate until ready to use. 
Note: There is enough icing to completely cover the cake with naked sides and piped decorated top. Increase the amount of icing if the desired finished cake is evenly iced on sides and top of cake.

Assembly
1. Place one cake layer, bottom side up, on platter or cake stand. Generously spread icing using a spatula to spread evenly over the cake layer.
2. Using a serrated knife, cut the dome off of the second layer (reserve crumbs). Place second layer of cake, top-cut side down, on layer of icing.
3. Spread remaining frosting over sides and top of the cake.
4. Serve immediately and/or chill in the refrigerator to serve later. Store cake in the refrigerator.

Notes: Cake can be made in 3 eight inch cake or 3 six inch cake pans. Adjust baking times accordingly.

Friday, February 19, 2016

Caramelized Shallots, Blue Cheese, & Prosciutto Spoons


I read somewhere it had only been the 18th time that Punxsutawney Phil had not seen his shadow since the Groundhog Day tradition began way back in the late 1800s. And according to folklore, this signaled the arrival of an early spring. But he wasn't the only groundhog failing to see their shadow on Groundhog Day this year.  If more than one groundhog did not see his shadow, then it's probably safe to say the early spring forecast will actually come to fruition. Right? Because who cares he has only been right somewhere between 36 and 39 percent of the time (depending on the time periods of records you look at). Certainly these are not the kind of percentages to cause anyone to gamble away their life savings. Yet, in spite the groundhog's poor powers of prognostication, I really believe this year he would get it right. However, a few bitter cold and snowy February days had me wondering if I shouldn't have been so quick to so vehemently take an early spring forecast position. But then, this past week as I was driving through an arboretum, I came upon a tree filled with not one, but dozens of robins. Upon seeing this almost surreal sight, I thought the return of all of these robins was more than an omen, but definitive proof spring really would return early this year. Well, as it turns out the whole return of the robins as a predictor of spring's arrival is nothing more than an old wives' tale. If you can't believe groundhogs and robins, who can you believe?


During a trip to New York several years ago I picked up a baker's dozen of Chinese Spoons I found at Fishs Eddy, a store filled with an incredibly eclectic collection of dinnerware, glassware, linens, and assortment of interesting serving pieces and knick-knacks. If you are ever in NYC and looking for a fun adventure, you absolutely must make a trip to this store. Okay, back to the Chinese Spoons. There must have been a reason why I bought them, although to be honest I don't remember what it was. If I had to guess, there was probably a recipe needing Chinese Spoons I thought I needed to make. Those spoons, the ones I absolutely had to have and then ultimately carefully pack for the return plane trip home had never been used. Until now that is. All because one of my best friends posted on her FB page an array of appetizers she served at a recent progressive dinner. The Caramelized Blue Cheese and Prosciutto Spoons caught my attention, setting me off on a search for the recipe. Fortunately I knew exactly where those Chinese Spoons were. And finally, these spoons in waiting would be put to good use.


These Caramelized Shallots, Blue Cheese, & Prosciutto Spoons are a perfect bite. Sweet, savory, and salty. How was it I never had them before? 


In searching out recipes for these spoons, some called for the use of shallots while others called for the use of (red or yellow) onions. Milder in flavor than red onions, but with a hint of garlic flavor, shallots it had to be. Note: Some recipes called for the use of either raspberry or red wine vinegar, so the choice is yours. I used red wine vinegar.

The thinly sliced shallots are first sautéed in unsalted butter (along with a generous pinch of kosher salt) until they become lightly golden and translucent. A tablespoon of sugar added to the shallots contributes to their caramelization as well as further highlights their sweet notes. Two tablespoons of red wine vinegar brings both balance and a slight tartness to the caramelized shallots. As tempted as you may be to eat this insane deliciousness right out of the pan, you really need to fill about a dozen Chinese spoons with a generous teaspoon of them.


The savory second layer on these spoons is a small slice of your favorite blue cheese. Mine happens to be Maytag Blue


A thin slice of prosciutto, cut into strips, becomes the final and salty layer on these spoons. 


If there is a downside to these Caramelized Shallots, Blue Cheese, & Prosciutto Spoons it is you need to assemble and serve them while the shallots are still warm. However, having the blue cheese and prosciutto cut and ready makes the process go quickly. If serving these for a cocktail party, the shallots can be caramelized early in the day and reheated (on low) in the microwave when you are ready to assemble them. Note: While the combination of the warm onions and chilled blue cheese and prosciutto send your taste sensation into a deeper state of euphoria, they retain their deliciousness even when the caramelized shallots begin to return to room temperature.


If there really such a thing as a perfect teasing bite, they would be these Caramelized Shallots, Blue Cheese, & Prosciutto Spoons. And while relatively inexpensive, the purchase of the Chinese spoons in NYC all those years ago, turned out to be a wise, maybe even fortuitous acquisition.  So now that I am feeling a little vindicated and even a little prophetic, I am predicting spring will be arriving early this year. I am betting on it.

Recipe
Caramelized Shallots, Blue Cheese, & Prosciutto Spoons (slight adaptation to the Blue Cheese and Prosciutto Spoons recipe shared on the French Cooking for Dummies food blog)
Makes approximately 10-12 spoons

Ingredients
4 - 5 large shallots or 6 - 7 medium sized shallots, peeled, and cut into thin slices (no larger than 1/4 inch)
1 1/2 Tablespoons unsalted butter
pinch of Kosher salt
1 Tablespoon granulated sugar
2 Tablespoons of red wine vinegar (or raspberry vinegar)
3 slices of prosciutto, sliced into long strips
2 ounces blue cheese (recommend Maytag Blue Cheese), cut into small sliced pieces

Directions
1. In a medium-large frying pan, melt butter over low heat. Add sliced shallots, stirring to coat the shallots in butter. Cover pan and cook until shallots become translucent (removing lid to stir several times as well as to ensure shallots are not burning). Approximately 8-10 minutes.
2. Stir sugar into the shallots and continue cooking for several minutes until the shallots begin to caramelize further. 
3. Increase heat to medium, add red wine vinegar cooking until vinegar evaporates. Immediately remove from heat.
4. Spoon a generous teaspoon of the caramelized shallots into each of the spoons. First top with a piece/slice of blue cheese and finish with a strip of the prosciutto. Serve immediately.
Notes: (1) Caramelized shallots can be made earlier in the day and reheated on low in the microwave before assembling. (2) Have the blue cheese and prosciutto cut up prior to filling spoons with the caramelized shallots. (3) While intended to be served warm, room temperature spoons were also delicious.


A tree filled with feasting robins, an omen spring will be arriving early here in the midwest.

Tuesday, February 16, 2016

Ice Box Kahlua Tiramisu


With the Saturday morning run cancelled due to extremely cold weather, one of my friends suggested we all go to our new favorite local fitness center to take a tabata class. Having never taken one before, I had absolutely no clue as to what my body was in store for. Midway through the class I was convinced tabata was a derivative of or word for torture in some language. Subsequently I learned this high-intensity interval workout was named after its' inventor, Japanese physician Dr. Izumi Tabata. Purely speculative on my part, but he also must have been a masochist. Surviving the thirty minute class ranked right up there with finishing a doctoral dissertation, running a marathon on a hilly course without properly training for it, and yes, even hiking the steep, multiple switchback 1 1/2 mile round trip Mount Sentinel "M" Trail on a hot sunny day in Missoula (MT). Okay, maybe I am slightly exaggerating just how grueling my first tabata class was. However, after experiencing the rush that comes from enduring a takes your breath away, seeing stars workout, the 'in your head' insanity switch flips on. Which, for me, translates into knowingly putting my body through another torturous tabata class again this week. It's too early to tell whether or not this workout rush will become addictive.


If you thinking taking a tabata sounds a bit crazy, you just might consider the making of this Ice Box Kahlua Tiramisu even crazier. Who would have thought Chips Ahoy cookies soaked in a milk-Kahlua mixture, espresso flavored Cool Whip, some mini-chocolate chips and/or crushed chocolate covered espresso beans, along with some freshly whipped cream could come together to create an insanely delicious tiramisu knock-off. But it does and it is.


Every now and then I come across a recipe taking me outside of my comfort zone. Not in the too difficult sense, but in the 'too good to be true' sense. But Tasting Table's version of this Ice Box Kahlua Tiramisu had me at chocolate chip cookies dipped in a milk and Kahlua mixture. Particularly because I am someone who loves how the texture of cookies, especially chocolate chip cookies, transform when dipped in milk. There are some six year old habits that stay with us.

The evolution of Ice Box Cakes goes all the way back to Renaissance-era trifles. The ice box or refrigerator cakes as we know them today originated in the 1920s/30s when store-bought and packaged cookies began to become readily available. Cookies layered between custard, freshly whipped cream, and/or tub whipped cream create such rich delicious desserts, it is sometimes hard to fathom something so rich and decadent is so easy to make. Often made in the summer, when a cool dessert gives some welcome relief to the heat of the day, ice box or refrigerator cakes satisfy any time of the year.


To further enhance the coffee flavor in this Ice Box Kahlua Tiramisu, I mixed one teaspoon of espresso powder into the Cool Whip. The resulting next day flavor was detectable, but subtle. Next time, and there will be a next time, I will increase the amount of espresso powder to 1 1/2 teaspoons.


Between layers of the expresso infused Cool Whip are the milk-Kahlua dipped Chips Ahoy Cookies. Quickly dipping the cookies is key as if left in the liquid mixture for too long they will fall apart. Two packages of Chips Ahoy cookies create six or seven cookie layers in this Ice Box Kahlua Tiramisu. For added crunch and a bit more chocolate, lightly sprinkle some mini-chocolate chips between three of the layers. Instead of mini-chocolate chips, you could also layer crushed chocolate covered espresso beans. Or you could use both the chips and beans in alternate layers!

When covering the cookie layer with the espresso flavored Cool Whip, add just enough to cover the cookies. A one pound tub of Cool Whip will be enough to create even layers of cream between the cookies. The final layer of the Ice Box Kahlua Tiramisu should be the expresso flavored Cool Whip. Cover and place in the refrigerator overnight.


The final finishing touch is a layer of freshly whipped cream lightly dusted with cocoa. After adding the whipped cream before it was refrigerated overnight, I would recommend you wait to add it until ready to serve (or at least several hours before).


Serving the Ice Box Kahlua Tiramisu in a trifle bowl makes for a beautiful presentation (there really is something to be said for that old adage 'we eat with our eyes'.)  In the event you don't have one of these bowls, you can always make it in a 9"x12" glass dish.


The milk-Kahlua dipped Chip Ahoy cookies take on a cake-like quality in this incredibly scrumptious, rich Ice Box Kahlua Tiramisu. This ever so slightly boozy, creamy with a little bit of crunch dessert is pure insanity. A perfect dessert to make for a large gathering and especially one when you are short on time (or are deliriously exhausted after a strenuous workout).

If you have never made an ice box or refrigerator cake before, this is the one you want to make this one first. In the best of ways, you will be delirious in the first bite.
Recipe
Ice Box Kahlua Tiramisu (inspired by a Tasting Table no bake Chips Ahoy, Kahlua and Cool Whip Cake recipe post)

Ingredients
1/2 cup whole milk
1/2 cup Kahlua
2 packages (13 ounce size) Original Chips Ahoy Cookies (Not soft baked)
16 ounce container of Cool Whip, allowed to soften in the refrigerator
1 teaspoon espresso powder (for a deeper mocha flavor, increase to 1 1/2 teaspoons)
1/2 cup mini-chocolate chips or 1/2 cup chopped chocolate covered espresso beans, or 1/4 cup of each
Freshly Whipped Cream
Sifted Cocoa for finishing (recommend Dutch Process Cocoa)
Whole Espresso beans for finishing, optional

Directions
1. Combine milk and Kahlua. Set aside.
2. Mix expresso powder into softened Cool Whip. 
3. On the bottom of a trifle dish, spread a thin layer of expresso flavored Cool Whip.
4. Quickly dip each cookie into the Kahlua-milk mixture (do not let them soak or they will fall apart). Place enough of the dipped cookies on Cool Whip layer to fully cover. Spread a layer of espresso flavored Cool Whip over cookie layer. Note: Lightly sprinkle mini-chocolate chips or chopped espresso beans between 2-3 of the layers. Or use both the chips and beans in alternate layers.
5. Repeat alternating layers of Kahlua dipped cookies and espresso flavored Cool Whip, until you run out of cookies. Note: End with a thin layer of the espresso flavored Cool Whip. 
6. Cover and place in the refrigerator overnight.
7. Before serving, pipe freshly whipped cream on top of ice box Kahlua Tiramisu. Lightly sift cocoa powder over top of whipped cream. Optional: Decorate top with whole espresso beans.

Wednesday, February 10, 2016

Swedish "Gooey" Chocolate Cake (Kladdkaka)


In searching out recipes for Red Velvet Cake, I accidentally came across one for Chef Magnus Nilsson's Swedish "Gooey" Chocolate Cake (Kladdkaka) recipe. For a moment I thought, don't I know him? The answer was yes, but for purposes of clarification he is not someone I have met personally. Rather our meeting was of a virtual nature. Watching the PBS series Mind of a Chef was where I first learned who Magnus Nilsson was, how much the Scandinavian environment influences his approach to food, as well as, how deeply the traditions and rituals of preparing Swedish recipes going back to his childhood has affected (and continue to affect) his personal and professional life. The making of a Red Velvet Cake is a slightly ambitious undertaking, however, the making of this Swedish "Gooey" Chocolate Cake is anything but. Choosing which one to make first was, as they say, one of those 'no-brainer' decisions. The allure of making a rich, dense, gooey chocolate cake, one tasting as delicious warm as it does chilled, seemed more than irresistible. It was destiny.

With Valentine's Day only a few days away, timing could not be more perfect for making this Swedish "Gooey" Chocolate Cake. Served either hot out of the oven with some vanilla ice cream or chilled with a generous dollop of freshly whipped cream, this is one incredibly decadent, versatile cake.


Just a thin slice will more than satisfy your craving for chocolate. As insatiable as your love of chocolate may be, a single slice will do the trick. Even hard core chocolate lovers may find themselves waiting hours before wanting another piece.


Instead of all-purpose flour, this cake is made with sifted cake flour. Due to its low protein content, cake flour results in a finer, softer, more even crumb. The use of melted butter reduces the amount of air incorporated into the batter, thus increasing the density of the cake's texture. The seven tablespoons, yes seven, creates the cake's deep chocolatey flavor.


If all you have is a bowl and a whisk, you can make this cake. If you have a gas oven and a storm takes your power out, you can make this cake. If you don't have a nine inch spring form pan, you really should buy one. However, you can make this cake in a removable bottom tart pan if you plan on serving it chilled and quite possibly it can be made in an ironstone pan if you will serve it hot out of the oven.


Accustomed to always lining my cake pans with parchment paper, I was initially reluctant to prepare the pan with only butter and fresh bread crumbs as I imagined the end result would be a cake disaster. I should have known better than to think I knew better than an accomplished chef. While my instincts are usually right, this was one time I am glad I didn't listen to them. 


The batter for this cake is very, very thick. But in a preheated 400 degree (F) oven it takes only 10-11 minutes to bake . Don't be tempted to bake it any longer or it will lose its' moist, tender interior. The top of the cake should form a thin crust (or skin), however, the interior should still be slightly loose in the center.

Before putting the cake in the oven, I decided to lightly sprinkle on some flaky sea salt. Because....well, because sea salt and chocolate compliment one another perfectly.

This cake is so rich, it really needs some freshly whipped cream, particularly if you serve it chilled. It only needs some vanilla ice cream if you serve it hot out of the oven.

Destined to be the perfect, most memorable finish to a dinner, this Swedish "Gooey" Chocolate Cake is one you need, must have in your life. 


A pint of heavy whipping cream (look for whipping cream with at least an 18% fat content), some granulated sugar, and a splash of vanilla creates the creamiest, most flavorful whipped cream.


Ending a dinner party meal without a dessert is like forgetting to put at least one candle on the birthday cake, like setting a table without napkins, or like serving soup in a bowl without a spoon. You probably wouldn't think of doing any of those things. Ending your Valentine's Day dinner or next dinner party with this almost effortless to make Swedish "Gooey" Chocolate Cake (Kladdkaka) may be one of the best, most heartfelt ways to show your love to those important to you. I wouldn't be at all surprised if this cake is destined to be one of your signature desserts.

Recipe
Swedish "Gooey" Chocolate Cake (Kladdkaka) (ever so slight adaption to Chef Magnus Nilsson's Swedish "Gooey" Chocolate Cake (Kladdkaka) recipe as shared in Saveur, August, 2015)
Serves 10-12 chilled, Serves 6-8 warm/hot

Ingredients
10 Tablespoons unsalted butter, melted and cooled, plus more for preparing the pan
1/4 cup fresh bread crumbs (from one piece of whole wheat bread)
1 cup granulated sugar
7 Tablespoons natural cocoa powder (I used Hershey's Natural Unsweetened Cocoa)
2 teaspoons vanilla
1/4 teaspoon kosher salt
2 large eggs, room temperature
1 cup cake flour, sifted
Flaky sea salt 
Freshly whipped cream, for serving chilled
Vanilla ice cream, for serving warm

Directions
1. Preheat oven to 400 degrees (F). Grease a 9 inch springform pan with batter, coating the bottom and sides with the fresh bread crumbs (discard any excess). Set aside.
2. In a medium bowl, whisk together the 10 Tablespoons of melted unsalted butter with the granulated sugar, cocoa powder, vanilla, and salt until well combined.
3. Add eggs one at a time, whisking until smooth.
4. Fold in sifted cake flour until just combined (there should be no streaks of flour, but do not overmix).
5. Scrape batter into the prepared pan, smoothing the top with an offset spatula. Lightly sprinkle with flaky sea salt.
6. Bake until the cake forms a thin skin on top (batter will still be loose in the center). Approximately 10-11 minutes. 
7. Transfer pan to a cooling rack. Let cake cool completely. Cover and chill for at least 1 hour.
8. Unmold the cake, transfer to a serving platter or cake stand. Serve with freshly whipped cream.
Note: For a warm, gooey cake eating experience, serve it as soon as it comes out of the oven along with a generous scoop of vanilla ice cream.